

Have you ever faced the frustration of trying to connect your laptop to a projector, only to be met with confusion and a blank screen? You’re not alone.
Whether it’s for an important presentation, a movie night, or a classroom lesson, getting your laptop to display on a big screen can feel tricky. But what if you could master this simple skill quickly and confidently? You’ll discover easy, step-by-step methods to connect your laptop to any projector.
By the end, you’ll be ready to impress your audience without any technical headaches. Keep reading to unlock the secret to a smooth, hassle-free connection!
Credit: www.tataneu.com
Check Laptop And Projector Ports
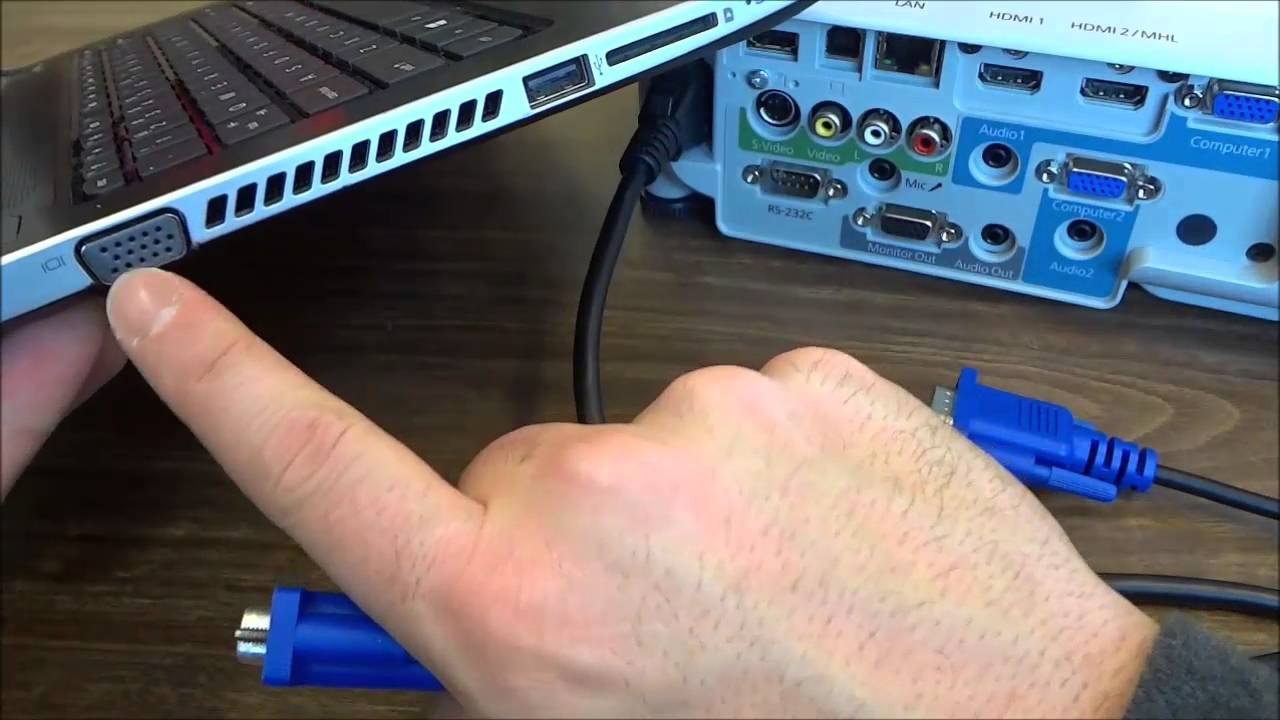
Check the ports on both laptop and projector. Common ports include HDMI, VGA, and USB-C. Some older devices may use DisplayPort or DVI. Each port has a unique shape and size.
If laptop and projector ports do not match, use an adapter. For example, a USB-C to HDMI adapter connects newer laptops to projectors. VGA to HDMI adapters also exist for older projectors.
| Port Type | Description | Common Use |
|---|---|---|
| HDMI | High-definition video and audio | Modern laptops and projectors |
| VGA | Analog video only | Older laptops and projectors |
| USB-C | Video, audio, and power | Newer laptops |
| DisplayPort | High-quality video and audio | Some laptops and monitors |

Credit: service.franklincollege.edu
Prepare Your Devices
First, turn on both your laptop and projector. Wait a few seconds for them to start up fully. This helps them connect smoothly.
Place the projector on a stable surface. Make sure it faces the screen or wall where you want to show your display. Adjust the distance to get a clear and large image.
Check the room lighting. Too much light can make the image hard to see. Dim the lights for better viewing.
Keep cables ready. Use an HDMI or VGA cable to link your laptop to the projector. Make sure the cables are long enough to reach comfortably.
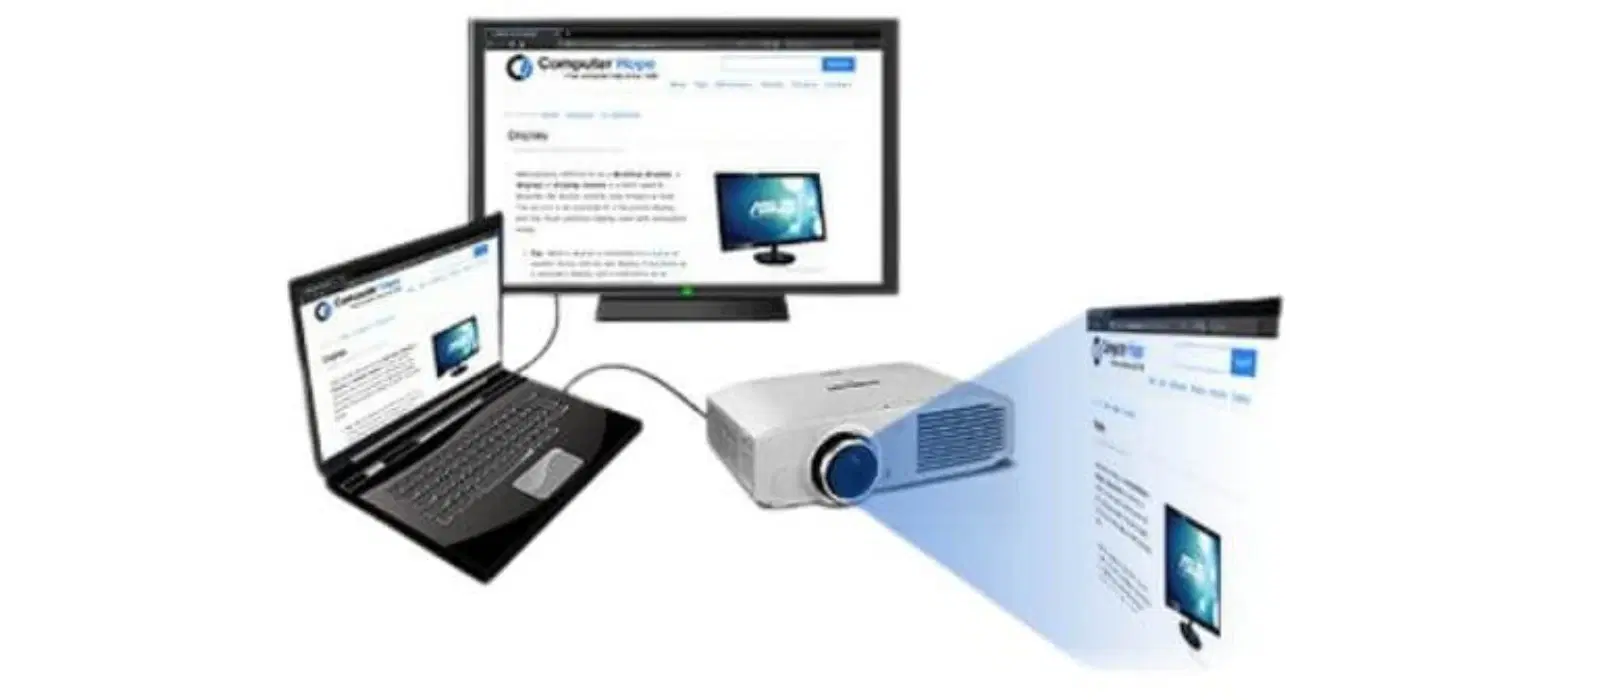
Connect Laptop To Projector
First, check the ports on both your laptop and projector. Common cables include HDMI, VGA, and USB-C. Pick the cable that fits both devices. Plug one end into the laptop and the other into the projector.
Make sure the cable is pushed in firmly. A loose connection can cause the image to flicker or not show at all. Look for a click or feel if the cable locks in place.
After plugging in, turn on the projector. Then, switch your laptop to the correct display mode. Press the function key for screen share, often F4, F5, or F8. This will send your laptop screen to the projector.
Adjust Display Settings On Laptop
Press Windows + P keys to open the projection options quickly. Choose the right projection mode for your needs:
- Duplicate: Shows the same screen on laptop and projector.
- Extend: Makes the projector an extra screen.
- Second screen only: Shows image only on the projector.
Adjust the resolution to match the projector’s native display. This keeps the image clear and sharp. Go to Display Settings and select the best resolution available.
Set the orientation to landscape or portrait based on your projector setup. This helps in showing the content correctly without rotation.
Troubleshoot Common Issues
No signal on projector often means connection issues. Check if the cable is firmly plugged into both the laptop and projector. Try switching the input source on the projector to the correct port. Restart both devices to refresh the connection. Use a different cable if the problem persists. Sometimes, the laptop screen needs to be mirrored or extended. Use the laptop display settings to select the correct mode.
Distorted or cut off display can happen due to wrong resolution settings. Adjust the laptop’s display resolution to match the projector’s native resolution. Avoid resolutions that are too high or too low. Check the projector’s zoom and aspect ratio settings. Resetting these to default often fixes the issue. Also, ensure the projector lens is clean and unobstructed.
Credit: www.youtube.com
Use Wireless Connection Options
Many laptops and projectors support Wi-Fi or Bluetooth connections. To connect via Wi-Fi, ensure both devices are on the same network. Open the laptop’s display settings and select the projector as the output device. For Bluetooth, turn on Bluetooth on both devices, then pair them through the laptop’s settings.
Screen mirroring tools like Miracast, AirPlay, or third-party apps make wireless connection simple. These tools send your laptop screen directly to the projector without cables. Just launch the tool on both devices and follow on-screen instructions.
Frequently Asked Questions
How Do I Connect My Laptop To A Projector?
To connect, use an HDMI or VGA cable between your laptop and projector. Select the correct input source on the projector. Adjust display settings on your laptop for mirroring or extending the screen. Ensure both devices are powered on for a successful connection.
What Cable Do I Need For Laptop-projector Connection?
Most modern laptops use HDMI cables for video and audio. Older laptops may require VGA or DVI cables. Check your laptop’s video output port and the projector’s input port to choose the right cable. Adapters can help if ports differ.
How To Fix No Signal From Laptop To Projector?
Check all cable connections are secure and correct input is selected on the projector. Restart both devices if needed. Update your laptop’s display drivers. Try a different cable or port if problems persist. Confirm your laptop output matches the projector’s input.
Can I Connect Wirelessly From Laptop To Projector?
Yes, many projectors support wireless connections via Wi-Fi or Bluetooth. Use screen mirroring or casting features on your laptop. Both devices must be on the same network. Wireless options may require specific apps or settings on the projector.
Conclusion
Connecting a laptop to a projector is simple with the right steps. First, choose the correct cable or adapter for your devices. Next, connect the laptop and projector securely. Then, switch the projector to the right input source. Finally, adjust your laptop’s display settings for the best view.
This process helps you share your screen easily. Practice a few times to feel confident. Presentations, movies, or meetings become clearer and more effective. Simple tools and clear steps make connection fast. Ready to share your ideas on the big screen?
As an Amazon Associate, I earn from qualifying purchases.

