

Setting up your studio monitors the right way can make all the difference in how you hear and create music. If you’ve ever struggled with confusing sound or felt unsure about your monitor placement, you’re not alone.
But don’t worry—this guide will walk you through simple steps to get your monitors sounding clear and balanced. By the end, you’ll have a setup that helps you catch every detail in your mix, saving you time and frustration. Ready to transform your listening experience?
Let’s dive in.
Choosing The Right Studio Monitors
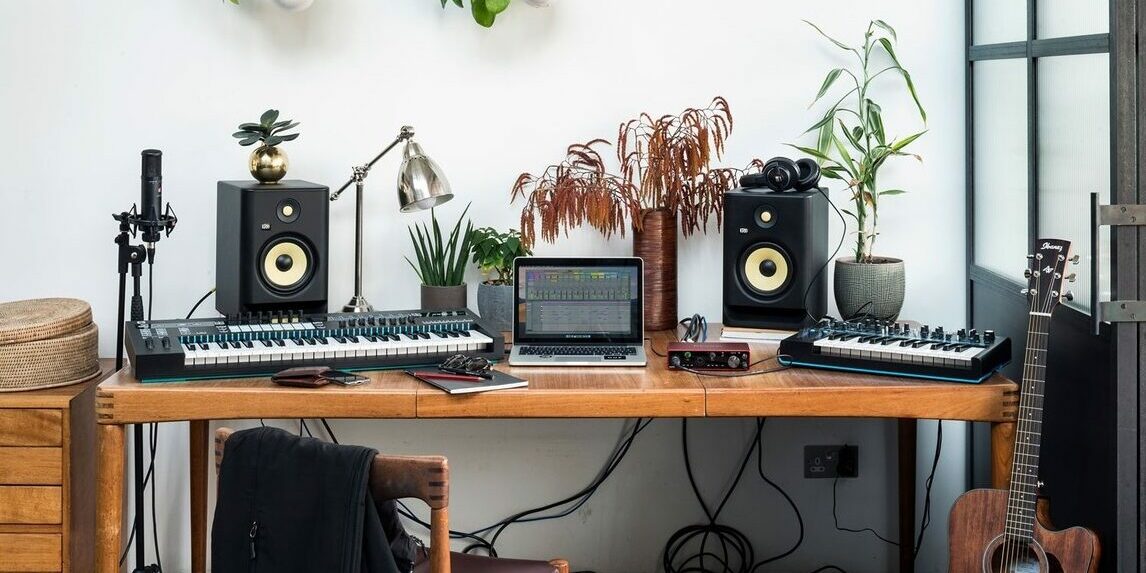
Choosing the right studio monitors is key for clear, accurate sound. The right monitors help you hear every detail in your music. This makes mixing and editing easier and more precise. Several factors affect which monitors suit your needs best. Consider your room size, listening habits, and budget. Here’s a breakdown of important points to guide your choice.
Active Vs Passive Monitors
Active monitors have built-in amplifiers. This means less gear and simpler setup. They often include controls to adjust sound to your room. Passive monitors need an external amplifier to work. They offer flexibility if you want to customize your setup. Active monitors are more common for home studios. Passive monitors might suit larger or custom setups.
Size And Frequency Response
Monitor size affects the sound range and volume. Smaller monitors work well for small rooms and near-field listening. Larger monitors produce deeper bass and higher volume. Frequency response shows how well monitors play all sound ranges. Look for monitors with a flat frequency response. This ensures you hear music as it really sounds. Your choice depends on room size and music style.
Budget Considerations
Studio monitors come in many price ranges. Set a clear budget before shopping. Cheaper monitors can still deliver good sound for beginners. Investing more usually means better clarity and build quality. Balance price with your needs and room size. Remember, good monitors improve your work quality a lot.
Ideal Room Setup
Setting up your studio monitors in the right room is very important. The room affects the sound you hear. A good setup helps you hear clear and true audio. It makes mixing and editing easier and more accurate.
There are a few key points to focus on. These include the size and shape of the room, where to place the monitors, and how to reduce unwanted sounds. These steps help you get the best sound from your monitors.
Room Dimensions And Acoustic Treatment
Choose a room with simple shapes like rectangles. Avoid rooms with many corners or odd angles. Rooms around 10 by 15 feet work well for most setups. Make sure the ceiling is not too low or very high.
Use acoustic panels to absorb sound reflections. Place bass traps in corners to reduce low-frequency build-up. Soft materials like curtains and carpets also help. These treatments stop echoes and improve sound clarity.
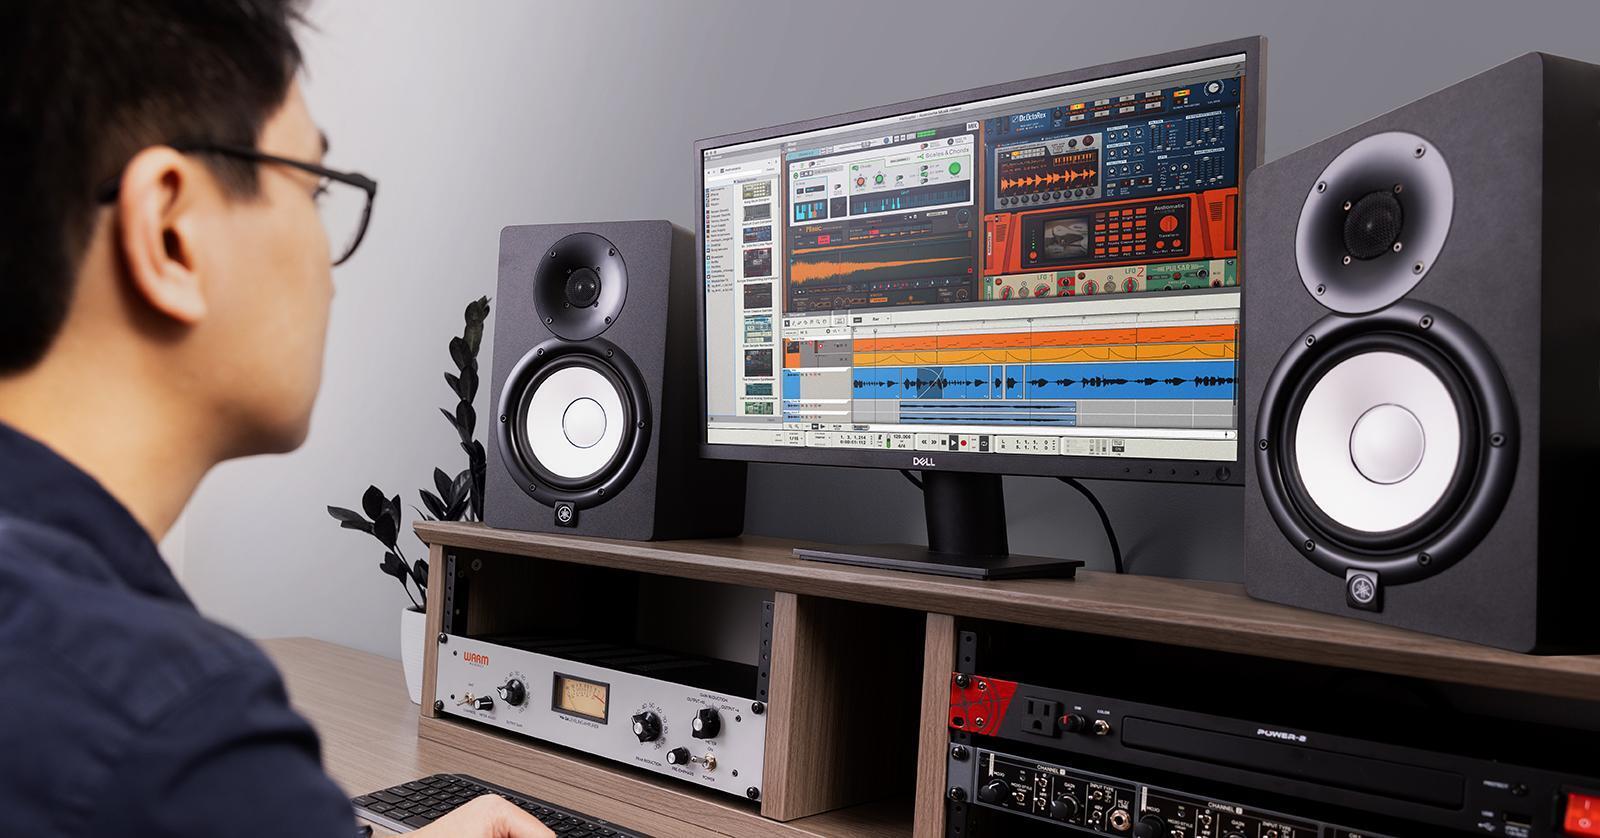
Positioning Monitors For Stereo Imaging
Place your monitors at ear level when seated. Form an equilateral triangle between your ears and the two monitors. This means the distance between monitors equals the distance from your ears.
Angle the monitors slightly inward, pointing towards your head. Avoid placing them directly against walls. Keep at least 1 to 2 feet of space behind each monitor. This helps create a clear stereo image and balanced sound.
Avoiding Reflections And Resonances
Keep reflective surfaces like glass and hard walls away from monitors. Use absorbent materials on side walls and behind monitors. Place diffusers on the back wall to scatter sound evenly.
Test your setup by clapping or playing music. Listen for echoes or booming sounds. Adjust acoustic panels or monitor position to reduce these problems. Controlling reflections and resonances improves accuracy and comfort.
Monitor Placement Techniques
Proper monitor placement is key to hearing clear and accurate sound. It helps you mix music or edit audio with confidence. Small changes in position can make a big difference in sound quality. Follow these simple techniques to place your studio monitors correctly.
Equilateral Triangle Setup
Set your monitors and listening spot in an equilateral triangle. Each side of the triangle should be the same length. The distance between the two monitors equals the distance from each monitor to your ears. This setup creates a balanced stereo image. It helps you hear sound equally from both speakers.
Height And Angle Adjustments
Position the monitors so the tweeters are at ear level. This ensures clear high-frequency sounds reach you directly. Tilt the monitors slightly inward, aiming at your ears. This angle improves clarity and reduces reflections. Avoid placing monitors too high or low. Proper height and angle create a natural listening experience.
Distance From Walls And Corners
Avoid placing monitors too close to walls or corners. Sound reflects off surfaces and can cause bass buildup. Keep at least one to two feet of space behind the monitors. This reduces unwanted echoes and muddiness. Experiment with distance to find the best bass response. Clean sound needs space around your monitors.

Credit: www.presonus.com
Connecting Studio Monitors
Connecting studio monitors properly is key for clear sound. Poor connections can cause noise or weak audio. This section covers how to connect monitors for the best results. Follow simple steps to set up your studio monitors correctly.
Choosing Proper Cables
Use the right cables to connect your monitors. Quality cables reduce noise and signal loss. Look for cables with good shielding and solid connectors. Avoid cheap cables that can cause static or hum. The length of the cable matters too; keep it as short as possible.
Balanced Vs Unbalanced Connections
Balanced cables carry audio signals with less noise. They have three wires: positive, negative, and ground. Unbalanced cables have only two wires and pick up more interference. Use balanced connections for longer cable runs. Balanced cables are usually XLR or TRS types. Unbalanced cables are often TS or RCA types.
Using Audio Interfaces
Audio interfaces connect your computer to studio monitors. They improve sound quality and control. Use the interface’s balanced outputs to connect monitors. This gives cleaner sound and less noise. Make sure the interface matches your monitor’s input type. Follow the interface manual for correct cable connections.
Calibrating Your Monitors
Calibrating your studio monitors is a key step to get clear and balanced sound. It helps you hear your music exactly as it is. Proper calibration reduces errors and makes mixing easier.
This process involves matching the volume levels, using tools to measure sound pressure, and sometimes using software to fine-tune settings. Each part works together to give you the best audio experience.
Volume Level Matching
Start by setting both monitors to the same volume. Play a test tone or pink noise. Adjust the volume knob on each monitor until the sound is equal in loudness.
Listen from your main listening position. Make small changes and check again. This step prevents one monitor from sounding louder than the other. Balanced volume helps you make better mixing decisions.
Using Spl Meters
An SPL meter measures sound pressure levels in decibels (dB). Place it at your listening spot. Play a consistent test tone through your monitors.
Adjust the monitor volumes until the meter reads the same dB level for both sides. This gives you an objective way to match volume. It ensures accuracy beyond what your ears can tell.
Software Calibration Tools
Use software tools designed for monitor calibration. These tools send test signals and analyze room acoustics. They suggest adjustments to improve sound quality.
Connect your monitors to the software. Follow on-screen instructions to run the calibration. Some software can adjust equalization and delay automatically. This step fine-tunes your monitors for your room.
Credit: www.gear4music.com
Troubleshooting Common Issues
Setting up studio monitors can be tricky. Problems may happen with sound quality and connection. Troubleshooting helps fix these common issues fast. This keeps your mix clear and accurate. Below are some typical problems and how to solve them.
Dealing With Bass Build-up
Bass build-up makes low frequencies sound muddy. It happens near walls or corners. Move your monitors away from these spots. Use acoustic panels or bass traps to absorb excess sound. Adjust the monitor’s position and angle carefully. This reduces unwanted bass reflections and improves clarity.
Minimizing Distortion
Distortion occurs when monitors play too loud or signals clip. Lower the volume to avoid distortion. Check cables and connections for damage. Use balanced cables to prevent signal loss. Keep your audio interface settings clean and clear. This helps keep sound smooth and natural.
Eliminating Ground Loops And Noise
Ground loops create buzzing or humming noise in monitors. Use a ground loop isolator to fix this. Connect all equipment to the same power outlet. Avoid running audio cables near power cords. Keep cables neat and separate. These steps reduce noise and deliver clean sound.
Maintaining Monitor Performance
Keeping your studio monitors in top shape is key to getting clear sound. Regular care helps avoid problems and keeps the audio accurate. Small habits can extend their life and save money on repairs.
Check your monitors often. Catching issues early stops bigger damage. Clean surfaces and check connections to keep the sound crisp. Stay updated with software to fix bugs and improve performance.
Regular Cleaning
Dust and dirt can block the speaker grills and affect sound quality. Use a soft, dry cloth to wipe the monitors weekly. Avoid sprays or wet cloths that may harm the electronics. Keep the area around the monitors clean to reduce dust buildup.
Firmware And Driver Updates
Manufacturers release updates to fix problems and enhance features. Check the brand’s website for new firmware or driver versions. Follow instructions carefully to install updates. Updated software keeps your monitors working smoothly and with better sound accuracy.
When To Upgrade Your Monitors
Old monitors may lose clarity and produce distorted sound. If you hear buzzing or weak bass, it might be time to upgrade. Consider new monitors if your work demands higher sound quality. Upgrading ensures your mixes are precise and reliable.
Credit: www.sweetwater.com
Frequently Asked Questions
How Do I Position Studio Monitors Correctly?
Place studio monitors at ear level, forming an equilateral triangle with your listening spot. Keep them away from walls to reduce reflections and improve sound accuracy.
What Cables Are Best For Connecting Studio Monitors?
Use balanced XLR or TRS cables for studio monitors. These cables minimize noise and interference, ensuring clear and precise audio signals.
Should Studio Monitors Be Angled Or Straight?
Angle studio monitors slightly inward to face your ears directly. This setup enhances stereo imaging and provides a more accurate listening experience.
How Far Should Studio Monitors Be From Walls?
Keep studio monitors at least 1-2 feet away from walls. This distance reduces bass buildup and unwanted reflections for cleaner sound.
Conclusion
Setting up studio monitors takes time and care. Place them at ear level and form an equilateral triangle with your listening spot. Keep them away from walls to reduce sound reflections. Adjust the volume to a comfortable level. Test your setup with different tracks to find the best sound.
Small changes can make a big difference. Enjoy clearer and more accurate audio in your workspace. This simple setup helps you hear every detail. Start with these steps and improve your mix quality.
As an Amazon Associate, I earn from qualifying purchases.

