If you want your Harley to run smoothly and sound just right, installing the right exhaust gaskets is a must. But maybe you’re wondering how to do it without making a costly mistake.
Don’t worry—this guide will walk you through every step clearly and simply. By the end, you’ll have the confidence to install your Harley exhaust gaskets like a pro, improving both performance and durability. Keep reading to discover the easy, effective way to upgrade your bike today.
Tools And Materials Needed
Installing Harley exhaust gaskets requires the right tools and materials. Having everything ready makes the process faster and smoother. This section covers the essential tools and how to pick the right gaskets. Understanding these basics helps avoid common mistakes and ensures a good fit.
Essential Tools
You need a few basic tools to install exhaust gaskets properly. A socket wrench set helps remove and tighten bolts. A torque wrench is important for applying the correct pressure. Use a gasket scraper or razor blade to clean old gasket material. Clean surfaces help new gaskets seal well. Safety gloves protect your hands from sharp edges and heat. A flashlight or work light improves visibility in tight spaces. Keep a container nearby to hold bolts and small parts.
Choosing The Right Gaskets
Select gaskets designed for your specific Harley model. Check the year, engine type, and exhaust system. Material matters. Steel or composite gaskets last longer and resist heat better. Avoid cheap or generic gaskets to prevent leaks. OEM (Original Equipment Manufacturer) gaskets match factory specs. This ensures a perfect fit and reliable seal. Double-check the part number before buying to avoid mistakes.
Credit: sawickispeed.com
Preparing Your Motorcycle
Preparing your motorcycle before installing Harley exhaust gaskets is important. It helps make the process safe and smooth. Taking time to get ready prevents mistakes and saves effort later. Follow clear steps to prepare your bike properly.
Ensuring Safety
Wear gloves and safety glasses to protect yourself. Work in a well-ventilated area to avoid breathing fumes. Make sure the engine is cool before touching any parts. Disconnect the battery to stop accidental starts. Keep your workspace clean and free of clutter.
Accessing The Exhaust System
Lift the motorcycle with a stand to keep it steady. Remove any covers or panels blocking the exhaust pipes. Use the right tools to loosen bolts without damage. Take care not to scratch or dent parts. Keep parts organized to make reassembly easy.
Removing Old Exhaust Gaskets
Removing old exhaust gaskets is the first step in installing new ones on your Harley. These gaskets seal the connection between exhaust parts and prevent leaks. Over time, they wear out and need replacement to keep your bike running smoothly.
Careful removal of old gaskets helps avoid damage to exhaust parts. Take your time and follow the steps below for a clean removal process.
Loosening Exhaust Components
Start by loosening the bolts or clamps that hold the exhaust parts together. Use the right tools to avoid stripping the bolts. Gently wiggle the pipes to separate them. If parts stick, apply some penetrating oil and wait a few minutes. Avoid using excessive force to prevent damage. Once loose, carefully pull the exhaust components apart.
Cleaning The Mating Surfaces
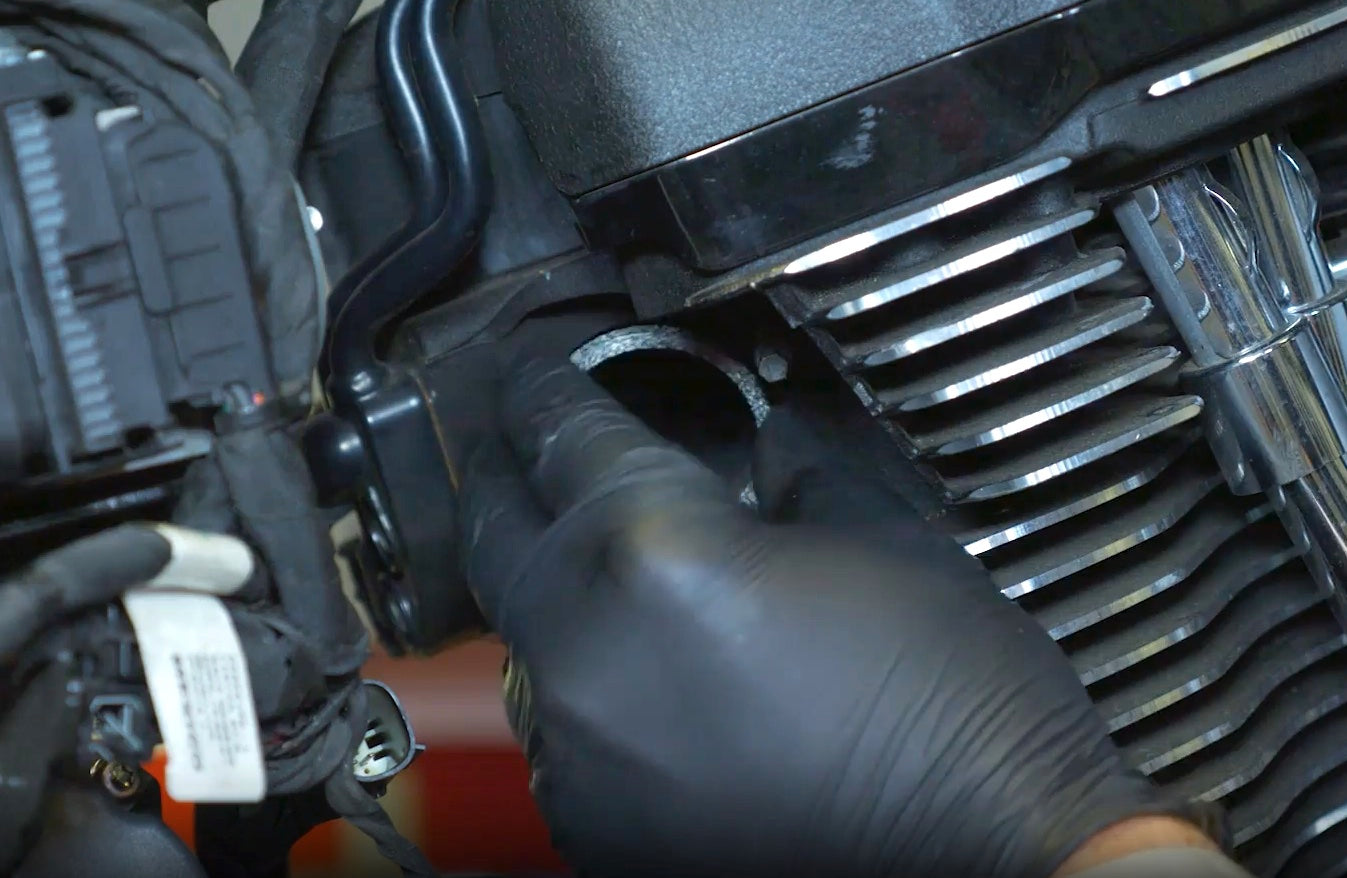
After removing the old gasket, clean the surfaces where the new gasket will sit. Use a scraper or a soft brush to remove old gasket material and dirt. Make sure no residue remains. Wipe the area with a clean cloth and some solvent to remove oil and grease. Clean surfaces ensure a tight seal with the new gasket. Take care not to scratch or damage the metal surfaces.
Credit: www.youtube.com
Installing New Exhaust Gaskets
Installing new exhaust gaskets on your Harley is a key step to ensure a tight seal and prevent leaks. The process requires careful handling and proper placement of the gasket. Follow each step closely to maintain your bike’s performance and sound quality.
Positioning The Gasket
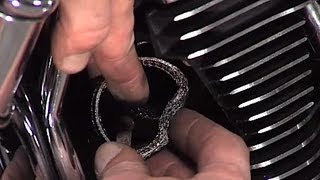
Start by cleaning the surfaces where the gasket will sit. Remove old gasket material and dirt. Place the new gasket carefully on the exhaust flange. Make sure it fits evenly and covers the entire sealing area. Avoid bending or damaging the gasket during placement. A well-positioned gasket stops exhaust gases from escaping.
Reassembling Exhaust Parts
After positioning the gasket, align the exhaust parts back together. Insert bolts or screws by hand first to avoid cross-threading. Tighten them gradually in a crisscross pattern. This ensures even pressure on the gasket. Do not overtighten, as this can crush the gasket and cause leaks. Check the exhaust system for secure fit and no gaps.
Final Checks And Testing
After installing Harley exhaust gaskets, final checks and testing are crucial. These steps ensure the exhaust system works properly and safely. Skipping this part can cause leaks or damage to your bike.
Careful inspection and testing protect your engine and improve performance. This section covers how to tighten fasteners correctly and check for leaks.
Tightening Fasteners Correctly
Use a torque wrench to tighten bolts to the manufacturer’s specs. Tighten bolts in a crisscross pattern for even pressure. Avoid overtightening, which can damage gaskets or threads. Check each bolt twice to confirm proper tightness. Proper fastening keeps the exhaust sealed and stable during rides.
Checking For Leaks
Start the engine and let it run at low speed. Listen for unusual sounds near the exhaust joints. Feel for escaping air or fumes around the gasket area. Use a soapy water spray to spot bubbles that show leaks. Fix any leaks by retightening bolts or replacing faulty gaskets. A leak-free exhaust prevents engine damage and keeps noise levels down.
Tips For Maintenance And Longevity
Maintaining your Harley exhaust gaskets is key to keeping your bike running well. Proper care helps avoid leaks and engine problems. It also extends the life of your gaskets and exhaust system. Small efforts in maintenance save you time and money later.
Here are some simple tips to help you maintain and get the most out of your Harley exhaust gaskets.
Regular Inspection
Check your exhaust gaskets often. Look for cracks, breaks, or any signs of wear. Also, listen for unusual sounds like hissing or popping. These sounds can mean a gasket leak. Keep an eye on the exhaust area for soot marks or black stains. These show where gas might escape. Catching issues early prevents bigger damage.
When To Replace Gaskets
Replace your gaskets if you see any damage or leaks. Gaskets do not last forever. Heat and vibration wear them down over time. Changing them every few years is a good rule. Also, replace gaskets when you remove the exhaust parts. Reusing old gaskets can cause poor sealing and leaks. Always use new gaskets for a tight fit and best performance.

Credit: www.amazon.com
Frequently Asked Questions
What Tools Are Needed To Install Harley Exhaust Gaskets?
You need basic hand tools like wrenches, screwdrivers, and a torque wrench. Also, use gasket scraper and gloves for safety.
How Often Should Harley Exhaust Gaskets Be Replaced?
Replace exhaust gaskets every 15,000 to 25,000 miles or if you notice leaks or noise. Regular checks help avoid damage.
Can I Install Harley Exhaust Gaskets Myself?
Yes, with basic mechanical skills and proper tools, you can install Harley exhaust gaskets at home safely and effectively.
What Are Signs Of A Faulty Harley Exhaust Gasket?
Signs include exhaust leaks, louder engine noise, reduced performance, and visible damage near the gasket area. Early repair prevents bigger issues.
Conclusion
Installing Harley exhaust gaskets is simple with the right steps. Take your time to ensure a tight fit and avoid leaks. Clean the surfaces well before placing new gaskets. Tighten bolts evenly to secure the exhaust parts. Regular checks help keep your bike running smoothly.
Enjoy better performance and sound after the installation. Now, your Harley is ready to hit the road with confidence.
As an Amazon Associate, I earn from qualifying purchases.