

Do you need to quickly turn a paper document into a digital file? Your iPhone camera can do this easily, saving you time and hassle.
Imagine scanning important papers without a bulky scanner or extra apps. In this guide, you’ll learn simple steps to scan documents using just your iPhone camera. By the end, you’ll be able to create clear, shareable scans anytime, anywhere. Ready to make your life easier?
Let’s dive in.
Prepare Your Iphone
Preparing your iPhone is the first step to scanning documents clearly. A clean and updated phone helps capture sharp images. Small actions improve the quality of your scanned documents. Follow these steps to get your iPhone ready for scanning.
Clean The Camera Lens
Wipe the camera lens gently with a soft cloth. Dust or fingerprints can blur the image. Use a microfiber cloth for the best results. Avoid using rough materials that might scratch the lens. A clean lens ensures clear and sharp scans every time.
Update Ios For Best Performance
Check for the latest iOS version on your iPhone. Updates often improve camera functions and scanning features. Go to Settings, then General, and tap Software Update. Download and install any available updates. An updated system runs smoothly and supports new scanning tools.
Choose The Right App
Choosing the right app is important for scanning documents on your iPhone. Different apps offer different features. Some are simple and easy to use. Others provide more tools for editing and sharing. Picking the right app saves time and makes scanning easier.
Using The Built-in Notes App
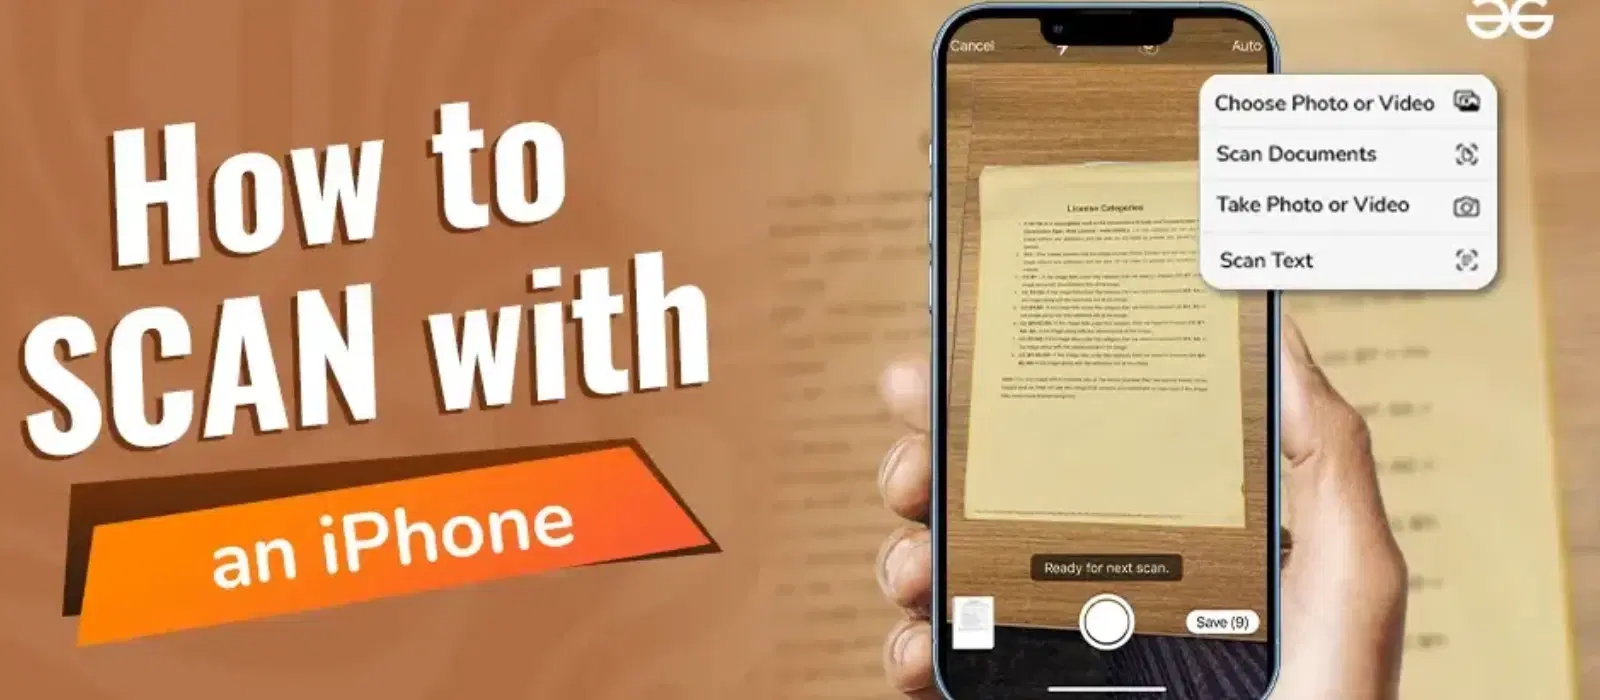
The iPhone’s Notes app has a free built-in scanner. It is easy to use and fast. Open the Notes app and create a new note. Tap the camera icon, then select “Scan Documents.”
Hold your iPhone over the document. The app will detect edges automatically. It captures the document and adjusts the image. You can save the scan as a PDF or image. This app works well for simple scans without extra features.
Third-party Scanner Apps
Third-party apps offer more tools for scanning. Apps like Adobe Scan, CamScanner, and Microsoft Lens add features. These include text recognition, cloud storage, and editing tools.
They can scan multiple pages into one file. Some apps improve image quality automatically. Many offer options to share scans by email or cloud. These apps are good for users needing extra functions beyond the Notes app.
Scan Documents With Notes
Scanning documents with the iPhone Notes app is quick and easy. It lets you save papers as digital files without extra apps. This feature is useful for receipts, letters, and important documents. The process uses your iPhone camera to capture sharp scans. The app also helps you crop and adjust the images for clarity.
Open The Scan Feature
Start by opening the Notes app on your iPhone. Tap the button to create a new note. Look for the plus (+) icon above the keyboard or at the bottom. Tap it, then select “Scan Documents” from the menu. Your camera will open, ready to scan your document.
Position The Document
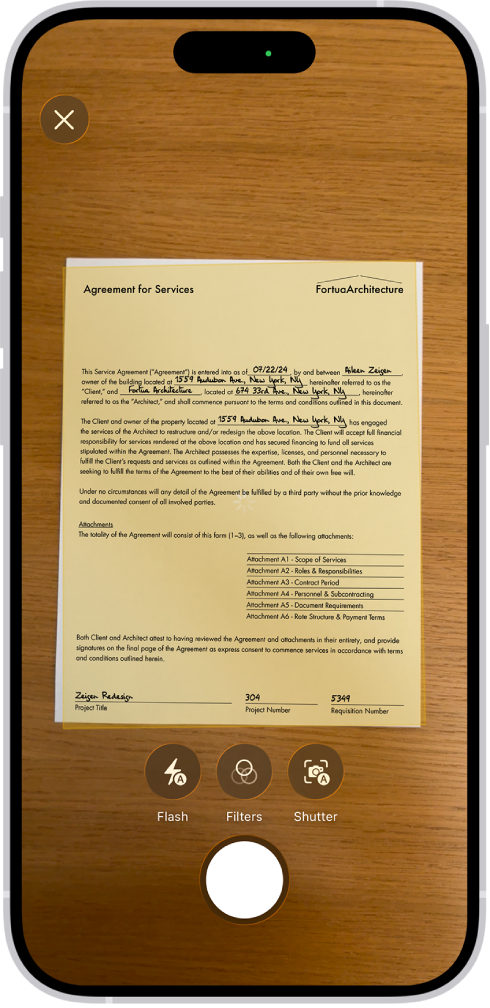
Place your document on a flat, well-lit surface. Hold your iPhone above the paper. Make sure the entire document fits inside the camera frame. The app will detect edges automatically. Adjust your phone if the edges are not clear or cut off.
Capture And Adjust Scan
The app will take a photo automatically when it detects the document. You can also tap the shutter button manually. After capturing, use the corners to crop the scan. Adjust the edges to fit the document perfectly. Save the scan by tapping “Keep Scan.” Repeat for more pages or save the note when done.

Credit: www.youtube.com
Enhance Your Scans
Enhancing your scans with the iPhone camera makes documents clearer and easier to read. Simple adjustments improve the quality and appearance. This section explains how to apply filters, crop, and adjust scan quality quickly.
These tips help create sharp, professional-looking scans. Perfect for work, school, or personal use.
Apply Filters And Crop
After scanning, use built-in filters to improve text visibility. Filters like black and white or grayscale make documents stand out. Choose the filter that suits your document type.
Cropping removes unwanted areas from the edges. Tap the crop icon and drag corners to fit the document perfectly. This keeps your scan neat and focused on important content.
Adjust Scan Quality
Adjust brightness and contrast to make text clearer. Use the editing tools to fix shadows or glare. Bright scans are easier to read and share.
Check the scan for sharpness. If blurry, retake the scan in better light or hold the phone steady. High-quality scans save time and reduce errors.
Save And Share Scanned Files
After scanning a document with your iPhone camera, saving and sharing the file is the next step. This process helps keep your digital copies organized and easy to find. It also allows quick sharing with others for work or personal use.
Saving scans in the right format is important. It makes the files easy to open on any device. Sharing options include email and cloud services, which provide convenience and security.
Save As Pdf Or Image
Choose between saving your scan as a PDF or an image file. PDFs are best for multiple pages and text documents. Image files like JPEG or PNG work well for single-page scans or photos.
Use the built-in Files app or Notes app on your iPhone to save scans. Select the format that fits your needs before saving.
Share Via Email Or Cloud
Send your scanned files directly from your iPhone through email. Attach the file and add a message. It is quick and simple.
Cloud services like iCloud, Google Drive, or Dropbox offer easy sharing and backup. Upload the scanned file and share the link with others.
These options keep your documents safe and accessible from any device.
Credit: www.tataneu.com
Tips For Better Scanning
Scanning documents with an iPhone camera is simple. Yet, some tips help improve the scan quality. These tips make your documents clear and easy to read. Follow these steps for better results.
Use Good Lighting
Bright light helps the camera capture details clearly. Natural daylight works best. Avoid shadows on the document. Turn on indoor lights if needed. Light from the side can cause glare. Position the document flat under even light.
Keep Your Hands Steady
Hold your phone firmly to avoid blur. Rest your elbows on a table for support. Keep the phone parallel to the document. Move slowly to frame the whole page. Use the camera’s focus feature before scanning.
Credit: support.apple.com
Frequently Asked Questions
How Do I Scan A Document Using Iphone Camera?
Open the Notes app, tap the camera icon, then select “Scan Documents. ” Position the document and capture. The app auto-crops and enhances the scan. Save or share the scanned file easily.
Can I Scan Multiple Pages With Iphone Camera?
Yes, after scanning the first page, tap “Add” to scan more pages. The Notes app compiles all pages into a single document for easy management.
Is It Possible To Edit Scanned Documents On Iphone?
Yes, you can crop, rotate, or apply filters to scanned documents within the Notes app. Additionally, you can annotate or add signatures directly on the scan.
How To Save Scanned Documents As Pdf On Iphone?
After scanning, tap “Save,” then share the document. Choose “Create PDF” from the share options to save or send the scanned file as a PDF.
Conclusion
Scanning documents with your iPhone camera is quick and simple. Just open the Notes app, select the scan option, and capture your document. The app automatically detects edges and enhances the image. Save or share your scanned file easily. This method saves time and space compared to traditional scanners.
You can keep all important papers organized right on your phone. Try it out next time you need a fast digital copy. Simple steps, clear results. No extra apps needed.
As an Amazon Associate, I earn from qualifying purchases.
