
Are you struggling to connect your Aver F17 document camera to your laptop? You’re not alone.
Many people find the setup confusing, but it doesn’t have to be that way. Imagine being able to share clear, detailed images right from your document camera in just minutes. In this guide, you’ll get simple, step-by-step instructions to make the connection quick and hassle-free.
Keep reading, and you’ll be ready to impress in your next presentation or online class without any technical headaches.
Choosing The Right Cable
Choosing the right cable is important to connect your Aver F17 document camera to a laptop. The cable affects video quality and ease of use. Picking the right type helps avoid connection problems. It also ensures smooth data transfer and clear images during presentations.
Consider the type of connection your laptop supports. Also, think about the cable length and its build quality. These factors impact the overall experience with your document camera setup.
Usb Vs Hdmi Connections
The Aver F17 supports both USB and HDMI connections. USB cables are common and easy to use. They carry video and power through one cable. USB is best for simple setups and most laptops.
HDMI cables deliver higher video quality. They are good for large displays or projectors. HDMI needs a separate power source for the camera. Choose HDMI for sharper images and better color.
Cable Length And Quality
Choose a cable length that fits your workspace. Too short cables limit camera placement. Too long cables may cause signal loss or tangles. A good length is usually between 6 and 10 feet.
Pick cables made from high-quality materials. Strong connectors prevent loose connections. Thick cables reduce interference and signal drops. Quality cables last longer and keep the video clear.
Credit: www.averusa.com
Preparing Your Laptop
Preparing your laptop is the first step to connect the Aver F17 document camera. Your laptop needs to be ready to work well with the camera. This preparation helps avoid problems during connection and use. Follow these simple steps to get your laptop set up.
Checking System Requirements
Make sure your laptop meets the system needs of the Aver F17. Check the operating system version. Windows 7 or later and Mac OS X 10.10 or higher usually work well. Verify that your laptop has a USB 2.0 or USB 3.0 port for connection. Also, confirm there is enough free space on your hard drive. This space is needed to install software and save files.
Installing Necessary Drivers
Drivers help your laptop talk to the document camera. Download the latest drivers from the Aver official website. Choose the right driver version for your operating system. Run the installation file and follow the on-screen instructions. Restart your laptop after installation. This step ensures the drivers work correctly.
Setting Up The Document Camera
Setting up the Aver F17 document camera is simple and quick. This step prepares your device for clear and smooth image capture. Proper setup improves your experience and ensures good results.
Follow these steps carefully to position and power on the camera. Doing this right helps avoid common problems and saves time.
Positioning The Camera
Place the Aver F17 on a flat, stable surface near your laptop. Make sure the camera lens faces the object you want to show. Adjust the arm so the camera points directly downwards. Keep enough space under the camera for books or papers. Avoid bright light behind the camera to reduce glare. Good lighting helps the camera capture clear images.
Powering On The Device
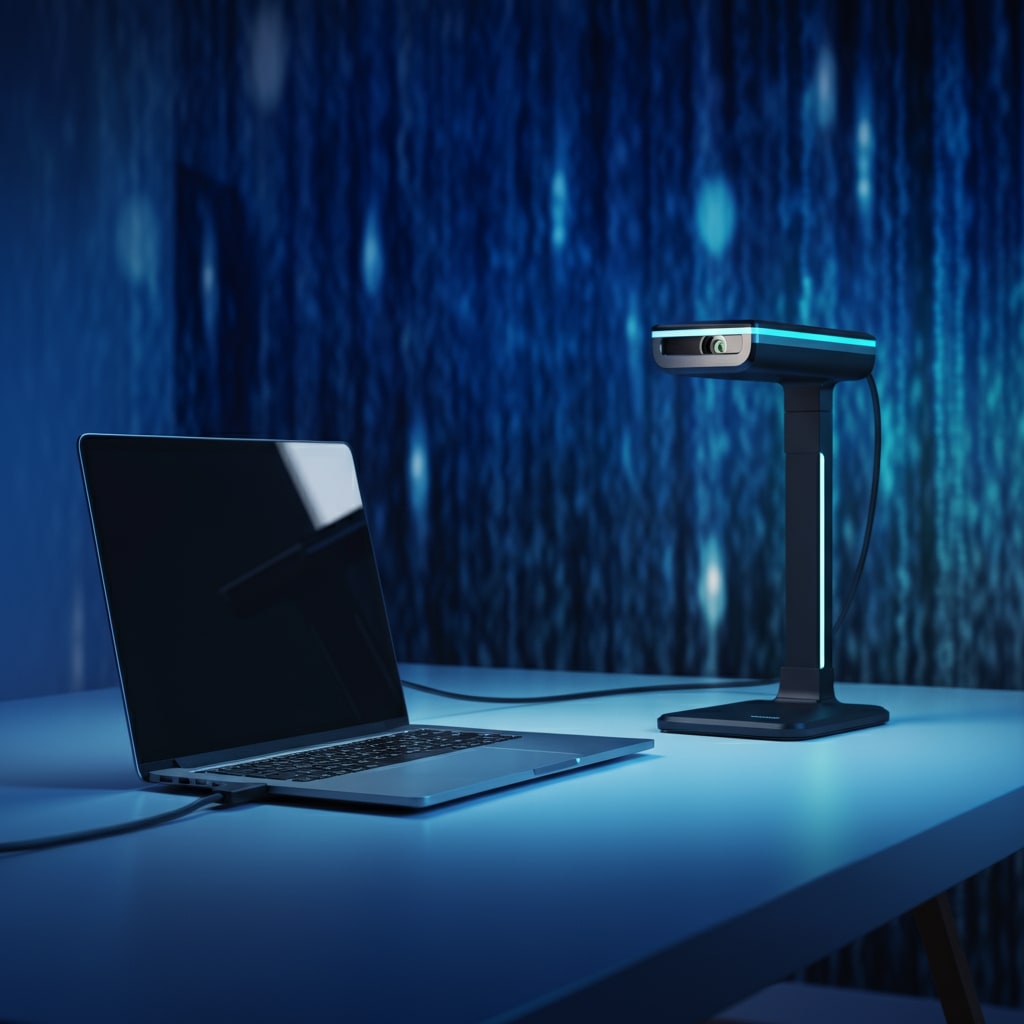
Connect the Aver F17 to your laptop using the included USB cable. The camera will draw power from the laptop through this cable. Look for the power light on the camera to confirm it is on. If the light does not appear, check the USB connection. Turn on your laptop before connecting the device. Wait a few seconds for the laptop to recognize the camera. Your device is now ready to use with your preferred software.
Connecting The Aver F17 To Laptop
Connecting the Aver F17 document camera to your laptop is simple and fast. This connection lets you show documents, images, or objects on your computer screen. It works well for teaching, presentations, and meetings. Follow clear steps to get your device ready and working smoothly.
Step-by-step Connection Process
First, find the USB cable that comes with the Aver F17. Plug one end of the cable into the document camera. Connect the other end to your laptop’s USB port. Make sure the cable fits securely.
Turn on the Aver F17 using its power button. Your laptop should detect the device automatically. Wait for a few seconds while drivers install. If drivers do not install, download them from the Aver official website.
Open the software that supports document cameras. This might be the AverVision software or another compatible app. Check if the camera image appears on your laptop screen. Adjust the camera angle and focus as needed.
Troubleshooting Common Issues
If the laptop does not detect the Aver F17, try a different USB port. Avoid using USB hubs as they can cause connection problems. Restart your laptop and the document camera.
Check if the USB cable is damaged. Swap it with another cable if possible. Ensure the drivers are up to date. Visit the Aver support page for the latest version.
Sometimes, software settings block the camera feed. Close other apps that might use the camera. Restart the document camera software and try again.
Configuring Software Settings
Configuring software settings is key to using the Aver F17 document camera with your laptop. Proper setup ensures clear images and smooth operation. Adjusting these settings tailors the camera to your needs and laptop capabilities.
Selecting The Camera Input
First, open the software that controls the Aver F17. Look for a menu called “Camera Input” or “Source.”
Choose the Aver F17 from the list of available devices. This makes sure your laptop uses the correct camera.
Some programs auto-detect devices. If not, select the camera manually. Confirm your choice to save the setting.
Adjusting Image Quality
Next, find options for image quality in the software. These might include resolution, brightness, and contrast.
Set the resolution to match your screen or presentation needs. Higher resolution means clearer images but uses more power.
Adjust brightness and contrast for clear, sharp visuals. Test changes by viewing the live camera feed.
Save your settings once the image looks good. This keeps your adjustments for future use.
Credit: www.gmapswidget.com
Using The Document Camera Effectively
Using the Aver F17 document camera effectively can boost your presentations and lessons. It helps show details clearly and keeps your audience engaged. Learning how to capture images and videos, and how to use it with presentation tools, makes your work easier and more professional.
Capturing Images And Videos
The Aver F17 lets you take clear pictures of documents or objects. Press the capture button to save images quickly. You can also record videos to explain steps or ideas. These files save directly to your laptop for easy access. Adjust the camera angle and zoom to get the best view. Good lighting improves image quality and clarity.
Integrating With Presentation Tools
The document camera works well with software like PowerPoint or Zoom. Share your live camera feed during meetings or classes. Insert captured images into slides for better visuals. You can highlight points directly using the camera in real-time. This makes your presentations more interactive and easy to follow. Use the Aver software to control the camera smoothly from your laptop.
Credit: vocal.media
Frequently Asked Questions
How Do I Connect Aver F17 To My Laptop?
Use the USB cable provided with Aver F17. Plug one end into the camera and the other into your laptop’s USB port. Your laptop should recognize the device automatically.
Which Software Is Needed For Aver F17 Connection?
Install the Aver official software or compatible third-party apps like Zoom or Microsoft Teams. This software ensures smooth video capture and control.
Can Aver F17 Work With Windows And Mac?
Yes, Aver F17 supports both Windows and Mac operating systems. Ensure you download the correct drivers from Aver’s official website.
What If My Laptop Doesn’t Detect Aver F17?
Check the USB connection and try a different port. Restart your laptop and reinstall the Aver drivers to resolve detection issues.
Conclusion
Connecting the Aver F17 document camera to your laptop is simple and quick. Follow the steps carefully, and you will see your documents clearly on the screen. This setup helps with presentations, teaching, or sharing ideas easily. Keep your cables secure and check your software settings if needed.
Now, you can use your camera smoothly for work or study without any trouble. Practice a few times to feel confident with the process. Enjoy clear and sharp images anytime you connect your Aver F17 to your laptop.
As an Amazon Associate, I earn from qualifying purchases.

