
As an Amazon Associate, I earn from qualifying purchases.
Have you ever struggled to park your car in tight spaces or worried about unseen obstacles while reversing? Installing a rear camera can change that experience completely.
It’s not just about safety—it’s about making your driving easier and stress-free. In this guide, you’ll discover simple steps to install a rear camera yourself, even if you’re not a tech expert. By the end, you’ll have the confidence and knowledge to upgrade your car with a feature that protects you and your loved ones every time you hit the road.
Keep reading, and let’s make your driving safer together.
Choosing The Right Rear Camera
Choosing the right rear camera for your car is important for safety and convenience. The perfect camera helps you see blind spots and park easily. Selecting a camera that fits your needs and car type saves time and money. Understanding different camera types and features guides you to the best choice.
Types Of Rear Cameras
Rear cameras come in many styles. The most common are wired and wireless cameras. Wired cameras connect directly to your car’s screen. Wireless cameras send video signals without cables. Some cameras have a wide-angle lens for a larger view. Others have night vision to see in the dark. Choose a type that matches your driving habits and budget.
Key Features To Consider
Look for clear image quality in the camera. A high-resolution camera shows details better. Check if the camera offers night vision for low light. Waterproof and dustproof cameras last longer outside. Some cameras have parking guides to help with distance. Make sure the camera has a good field of view. This helps cover blind spots behind your car.
Compatibility With Your Car
Not all cameras fit every car model. Check if the camera works with your car’s display screen. Some cameras need special adapters or wiring. Also, see if the camera fits your car’s mounting spot. Some cameras attach to the license plate area. Others fit inside the rear bumper or under the trunk handle. Confirm compatibility before buying to avoid extra work.
Credit: www.capitalone.com
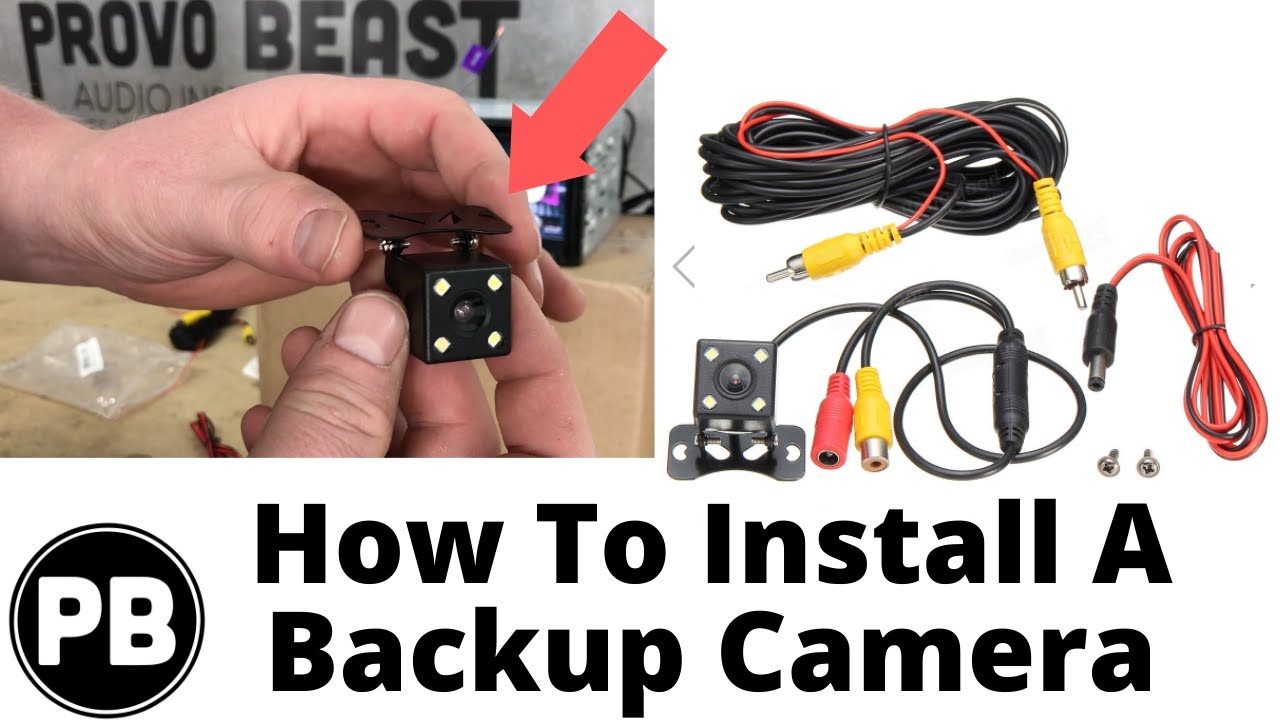
Tools And Materials Needed
Installing a rear camera in your car improves safety and parking ease. Gathering the right tools and materials is the first step. This section lists what you need to complete the job smoothly. Having these items ready saves time and avoids frustration.
Essential Tools
- Screwdriver set for removing panels and screws
- Wire stripper and cutter for handling cables
- Electrical tape to secure and protect wires
- Drill with bits to make holes for mounting
- Multimeter to check electrical connections
- Plastic trim removal tools to avoid damage
- Measuring tape for precise placement
Additional Supplies
- Rear camera kit with mounting bracket and cables
- Zip ties to organize and hold wiring
- Fuse tap for safe power connection
- Heat shrink tubing for extra wire insulation
- Double-sided tape for extra mounting support
- Gloves to protect your hands during installation
Preparing Your Vehicle
Preparing your vehicle is an important first step to install a rear camera. It helps ensure the camera fits well and works correctly. Taking time to prepare also keeps you safe during the installation. Focus on cleaning and making sure the mounting area is easy to reach. Then, disconnect the battery to avoid any electrical problems.
These steps make the installation smoother. They help protect your car and the new camera. Follow each part carefully for the best results.
Cleaning And Accessing Mounting Area
Start by cleaning the area where the camera will go. Dirt and dust can stop the camera from sticking properly. Use a soft cloth and mild cleaner. Wipe the surface until it is dry and clear of grime.
Next, find the exact spot for the camera. Usually, this is near the license plate or rear bumper. Check for any covers or panels blocking access. Remove them gently to reach the mounting spot.
Disconnecting The Battery
Always disconnect your car battery before working on electrical parts. This prevents short circuits or shocks. Use a wrench to loosen the negative battery cable first. Remove the cable and keep it away from the battery terminal.
Wait a few minutes before starting the camera installation. This ensures no power runs through the car’s system. After the camera is installed, reconnect the battery in reverse order.

Credit: www.wikihow.com
Mounting The Rear Camera
Mounting the rear camera is a key step in the installation process. It ensures clear views and proper operation. The camera must be placed carefully to avoid blind spots. Secure mounting keeps the camera steady on bumpy roads. This section guides you through selecting the right spot and attaching the camera firmly.
Selecting The Best Location
Choose a spot near the license plate or rear bumper. This area offers a wide view behind the car. Avoid placing the camera too high or too low. Too high can cause distorted images. Too low risks dirt and water splash. Make sure the lens points straight back. Avoid obstacles like spare tires or tow hooks. Check for a clear view without obstructions. Test the angle before fixing the camera in place.
Attaching The Camera Securely
Use the mounting bracket that comes with the camera. Clean the surface to remove dust and grease. This helps the adhesive or screws hold better. Stick the camera or screw it tightly to the mount. Avoid loose fittings that can cause shaking. Double-check the camera’s position after mounting. Tighten all screws and fasteners firmly. Use waterproof tape if needed to protect connections. Secure wiring to prevent damage while driving.
Wiring The Camera
Wiring the rear camera is a crucial step in the installation process. It ensures the camera works properly and connects to your car’s display. Careful wiring helps avoid electrical problems and keeps the system safe.
Running The Wires Safely
Start by choosing a clear path for the wires. Avoid sharp edges and moving parts inside the car. Use wire clips or tape to hold wires in place. Keep wires away from hot areas like the exhaust. Protect wires with a plastic sleeve if needed. This prevents damage and keeps connections strong.
Connecting To Power Source
Connect the camera’s power wire to the car’s reverse light wire. This makes the camera turn on only when the car is in reverse. Use a test light to find the correct wire. Strip a small section of the reverse light wire and attach the camera wire. Secure the connection with electrical tape or a wire connector. Proper power connection ensures the camera works without draining the battery.
Integrating With The Display Unit
Next, connect the video wire from the camera to the display unit. This wire usually has a yellow RCA connector. Plug it into the video input on your head unit or monitor. Check the user manual for exact ports. Secure all connections to avoid loose contacts. Test the camera by shifting into reverse to see the image on the screen.
Credit: www.youtube.com
Testing The Camera
Testing the rear camera is a key step after installation. It ensures the camera works correctly and shows clear images. This step helps avoid mistakes and keeps driving safe.
Powering On And Image Check
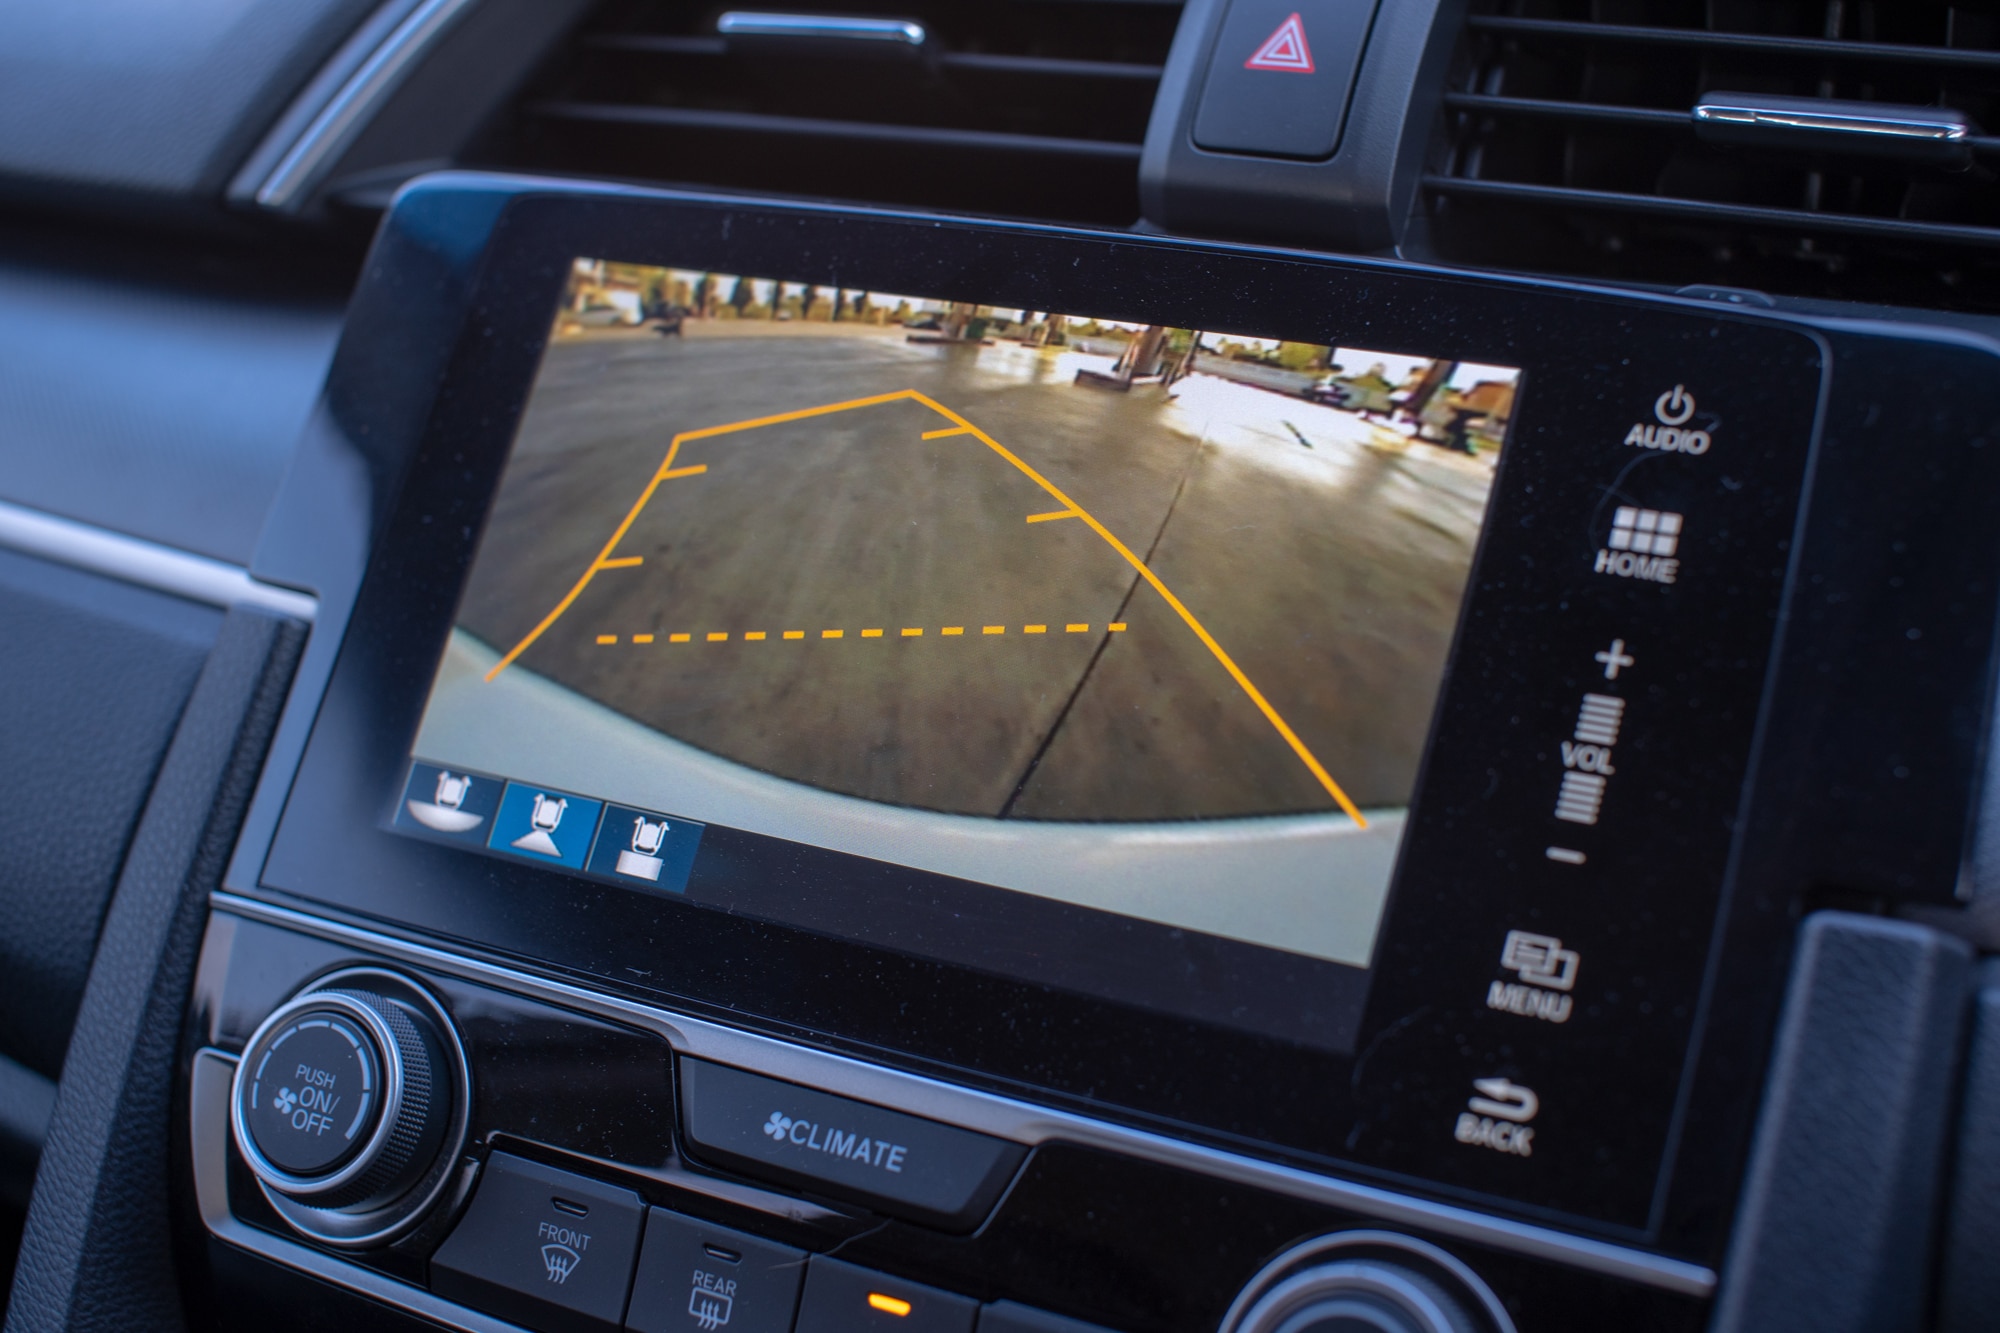
Turn on your car’s ignition to power the camera. Watch the monitor to see if the camera feed appears. The screen should show a clear, bright image of the rear area. If the image is blurry or dark, check the connections and clean the camera lens. Make sure the camera switches on automatically when you reverse the car.
Adjusting Camera Angle
Adjust the camera angle for the best view behind your car. The camera should show a wide area with no blind spots. Tilt or rotate the camera slowly and check the screen after each move. The goal is to see the ground near your bumper and the road behind. Proper angle helps avoid accidents while parking or reversing.
Troubleshooting Common Issues
Installing a rear camera for your car can improve safety and parking ease. Sometimes, problems may arise after installation. Troubleshooting these issues helps ensure the camera works correctly. This section covers common problems and easy ways to fix them.
No Image On Screen
No image on the screen often means a power or connection issue. Check if the camera is properly connected to the power source. Make sure the fuse is not blown. Verify that the screen input is set to the camera’s signal. Loose wires can cause this problem. Secure all cables firmly. Test the camera by connecting it to another screen if possible.
Poor Image Quality
Poor image quality can make it hard to see clearly. Clean the camera lens gently with a soft cloth. Dirt or water drops reduce clarity. Adjust the camera angle for a better view. Check for damage on the lens or camera body. Low light may affect image quality. Adding extra lighting near the camera can help. Also, check the screen settings for brightness and contrast.
Connectivity Problems
Connectivity problems cause flickering or loss of signal. Inspect all cables for cuts or damage. Replace damaged wires immediately. Ensure all connectors are fully plugged in. Wireless cameras may need to be closer to the receiver. Avoid interference from other devices. Reset the system by turning the car off and on. Updating the camera firmware can also solve some issues.
Maintaining Your Rear Camera
Maintaining your rear camera ensures clear views and safe driving. Dirt, dust, and weather can reduce its performance. Regular care keeps the camera working well. It helps avoid blurry images and connection problems. Follow simple steps to keep your rear camera in top shape.
Cleaning Tips
Clean the camera lens gently with a soft cloth. Use a damp cloth to remove dirt and grime. Avoid harsh chemicals that can damage the lens. Clean the camera weekly or after driving in bad weather. Keep the lens free of water spots and dust. This keeps your camera clear and reliable.
Regular Checks And Updates
Check the camera connection and wiring regularly. Look for loose wires or damage that may cause failure. Test the camera image often to ensure sharp visuals. Update the camera software if updates are available. This improves camera performance and fixes bugs. Regular checks prevent surprises while parking or reversing.
Frequently Asked Questions
How Do I Connect A Rear Camera To My Car’s Display?
You connect the rear camera to your car’s display using a video cable or wireless transmitter. Most systems use RCA connectors or Wi-Fi. Ensure the camera’s power wires link to the reverse light circuit for automatic activation when reversing.
What Tools Are Needed To Install A Rear Camera?
Basic tools include a screwdriver, wire stripper, electrical tape, and a drill. You may also need zip ties, a multimeter, and a panel removal tool. Proper tools make installation easier and ensure secure wiring and mounting.
Can I Install A Rear Camera Myself?
Yes, many rear cameras are DIY-friendly with step-by-step guides. Basic electrical knowledge helps. Follow instructions carefully, especially for wiring and mounting. If unsure, consult a professional to avoid damage or incorrect installation.
Where Is The Best Location To Mount A Rear Camera?
Mount the camera near the license plate or rear bumper center. This position offers a clear, wide view of the area behind your car. Avoid locations obstructed by spare tires or vehicle parts for optimal visibility.
Conclusion
Installing a rear camera in your car improves safety and parking ease. Follow the steps carefully and take your time. Double-check all connections before testing the camera. A clear view behind helps avoid accidents. This simple upgrade adds great value to your driving experience.
Keep your tools ready and your instructions close. You can do this yourself with patience and care. Enjoy safer drives with better rear visibility every day.
As an Amazon Associate, I earn from qualifying purchases.
