
Are you struggling to keep your camera footage organized on the Invid Elevate App? You’re not alone.
When your videos are scattered and hard to find, it wastes your time and causes unnecessary stress. Imagine having a simple, clear system that lets you access any clip instantly. You’ll discover easy steps to organize your camera on Invid Elevate so you can focus on what really matters—capturing great moments without the hassle.
Keep reading to unlock a smoother, smarter way to manage your videos.

Credit: woahtech.com
Setting Up Invid Elevate
Setting up Invid Elevate is the first step to organize your camera efficiently. The app offers a simple process to get started. Following clear steps helps you save time and avoid confusion. This section guides you through the basic setup tasks.
From downloading the app to connecting your camera, each step is easy. You will be ready to manage your camera settings and footage quickly.
Downloading And Installing
Download Invid Elevate from the official app store on your device. The app supports both iOS and Android platforms. Make sure your device has enough space before starting the download. After downloading, open the app to begin installation. The process will take only a few moments.
Creating An Account
Open the app and tap on the sign-up option. Enter your email address and create a strong password. Verify your email by clicking the link sent to your inbox. This step secures your account and personal data. Once verified, you can log in to access all features.
Connecting Your Camera
Turn on your camera and ensure it is on the same Wi-Fi network as your device. Open the Invid Elevate app and go to the camera connection section. Select your camera from the list of available devices. Follow the prompts to pair your camera with the app. After connection, you can start organizing and managing camera settings easily.
Navigating The Interface
Navigating the Invid Elevate app is simple. The interface is clear and user-friendly. You can organize your cameras quickly and easily. Understanding the main areas helps you work faster. This section explains the key parts of the interface.
Main Dashboard
The main dashboard shows an overview of all cameras. It displays camera status and recent activity. You can check which cameras are online or offline. The dashboard also shows alerts and notifications. This helps you keep track of important events.
Camera Management Section
This section lets you add, remove, or edit cameras. You can group cameras by location or purpose. It provides options to rename cameras for easy identification. You can also view live feeds from each camera. This section keeps your camera list organized and accessible.
Settings Menu
The settings menu controls app preferences and camera settings. Adjust notifications, video quality, and storage options here. You can set user permissions and privacy controls. This menu gives you full control over your camera system. It helps customize the app to your needs.
Adding Cameras
Adding cameras to the Invid Elevate app is simple and fast. This step lets you manage all your cameras in one place. You can add cameras manually or use the app’s auto-detection feature. After adding, you can name each camera to keep everything clear.
Manual Camera Addition
Start by opening the Invid Elevate app. Tap the “Add Camera” button. Enter the camera’s details like IP address and login info. Double-check each detail for accuracy. Save the settings to connect the camera. This method works well for cameras not on the same network.
Auto-detection Feature
The app scans your network for compatible cameras automatically. This saves time and reduces errors. Turn on the auto-detection and wait a few moments. A list of found cameras will appear. Select the cameras you want to add. Confirm to link them to your app.
Assigning Camera Names
Assign clear, easy-to-remember names to each camera. Use location or function as a guide, like “Front Door” or “Garage.” This helps you quickly identify cameras. To rename, tap the camera settings and enter a new name. Save changes to update your camera list.
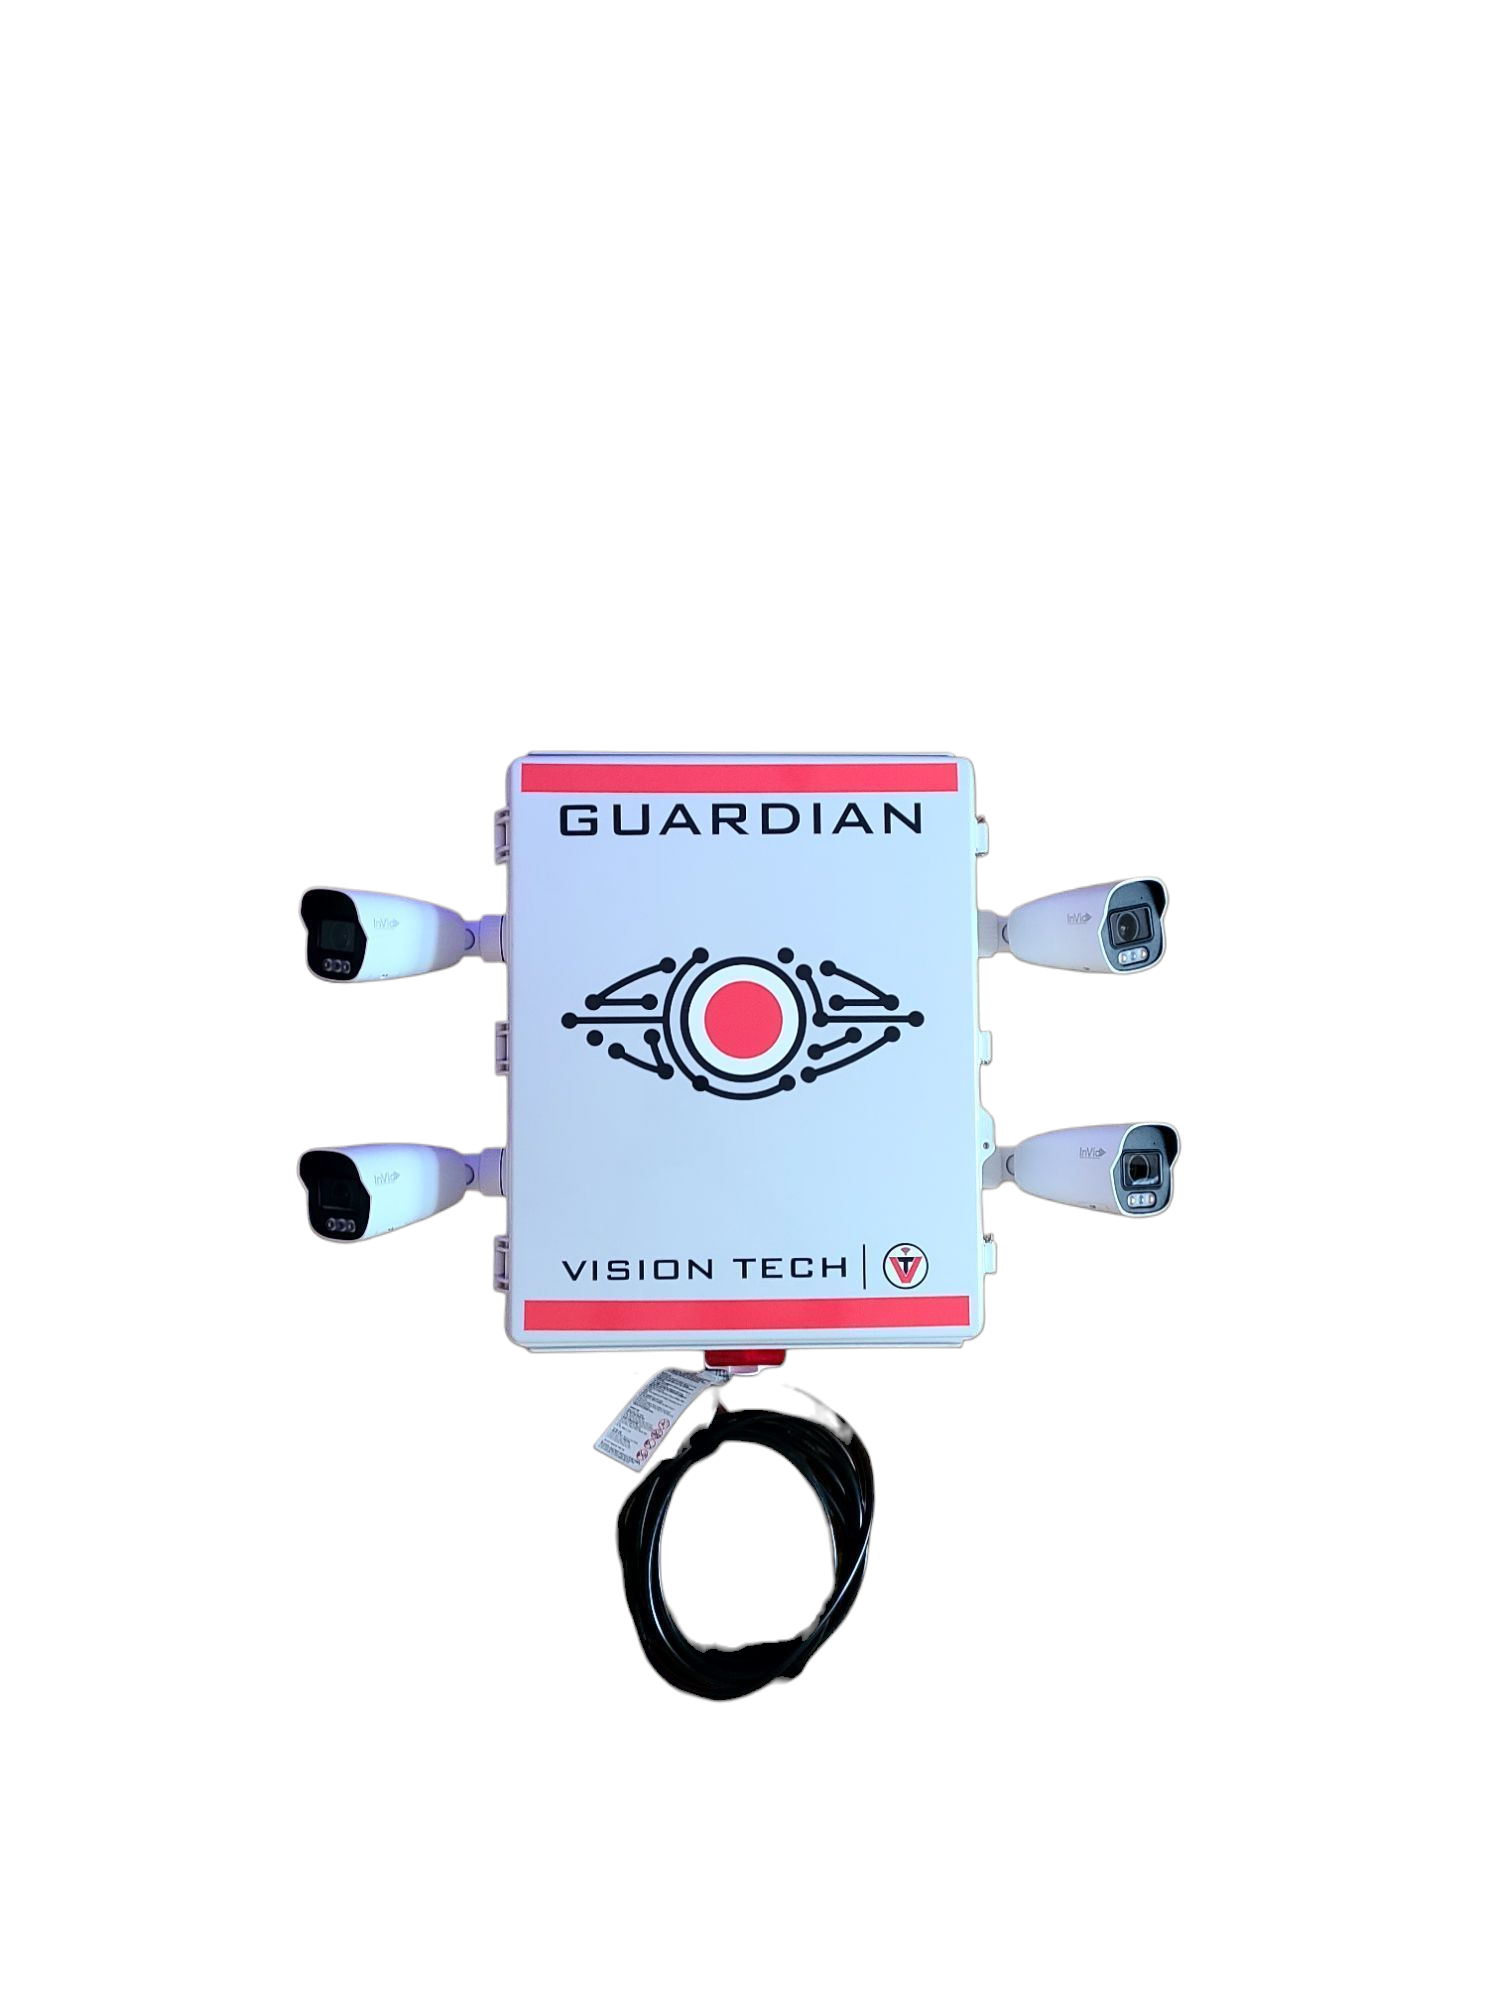
Credit: visiontechc.ca
Organizing Cameras
Organizing cameras in the Invid Elevate app helps you manage your devices easily. A clear setup saves time and reduces confusion. You can group cameras, sort them by different options, and rename or reorder them. This makes your workflow smoother and your camera feed neat.
Creating Camera Groups
Group cameras by location or purpose. For example, create groups for “Front Door,” “Office,” or “Warehouse.” This keeps similar cameras together. It also helps you find the right feed faster. To create a group, tap the “Add Group” button and name it. Then, drag cameras into the group. Grouping makes managing many cameras simple and clear.
Sorting And Filtering Options
Sort cameras by name, date added, or status. Sorting arranges your cameras in a clear order. Filtering shows only the cameras you want to see. Use filters to display only active or offline cameras. These options help you focus on important feeds. Tap the “Sort” or “Filter” icons to choose your preferences.
Renaming And Reordering
Rename cameras with clear and simple names. Use names that describe the camera’s location or view. This makes identification quick and easy. Reorder cameras by dragging them to new positions. Put your most important cameras at the top. Renaming and reordering keep your camera list tidy. It helps you work faster and avoid mistakes.
Managing Camera Settings
Managing camera settings on the Invid Elevate app helps you control how your camera works. Proper settings improve video quality, privacy, and alerts. You can customize these options easily in the app.
Adjusting Video Quality
Choose the video resolution that fits your needs. Higher quality uses more data but shows clearer images. Lower quality saves data and works better on slow networks. Change settings anytime to balance quality and performance.
Setting Notifications
Turn notifications on to get alerts for motion or sound detected by your camera. You can pick which alerts to receive. Customize notification times to avoid disturbances. This keeps you updated without overwhelming you.
Configuring Privacy Settings
Control who can see your camera feed. Use privacy zones to block parts of the view. Enable encryption to protect your video data. Adjust sharing permissions to keep your feed safe and private.
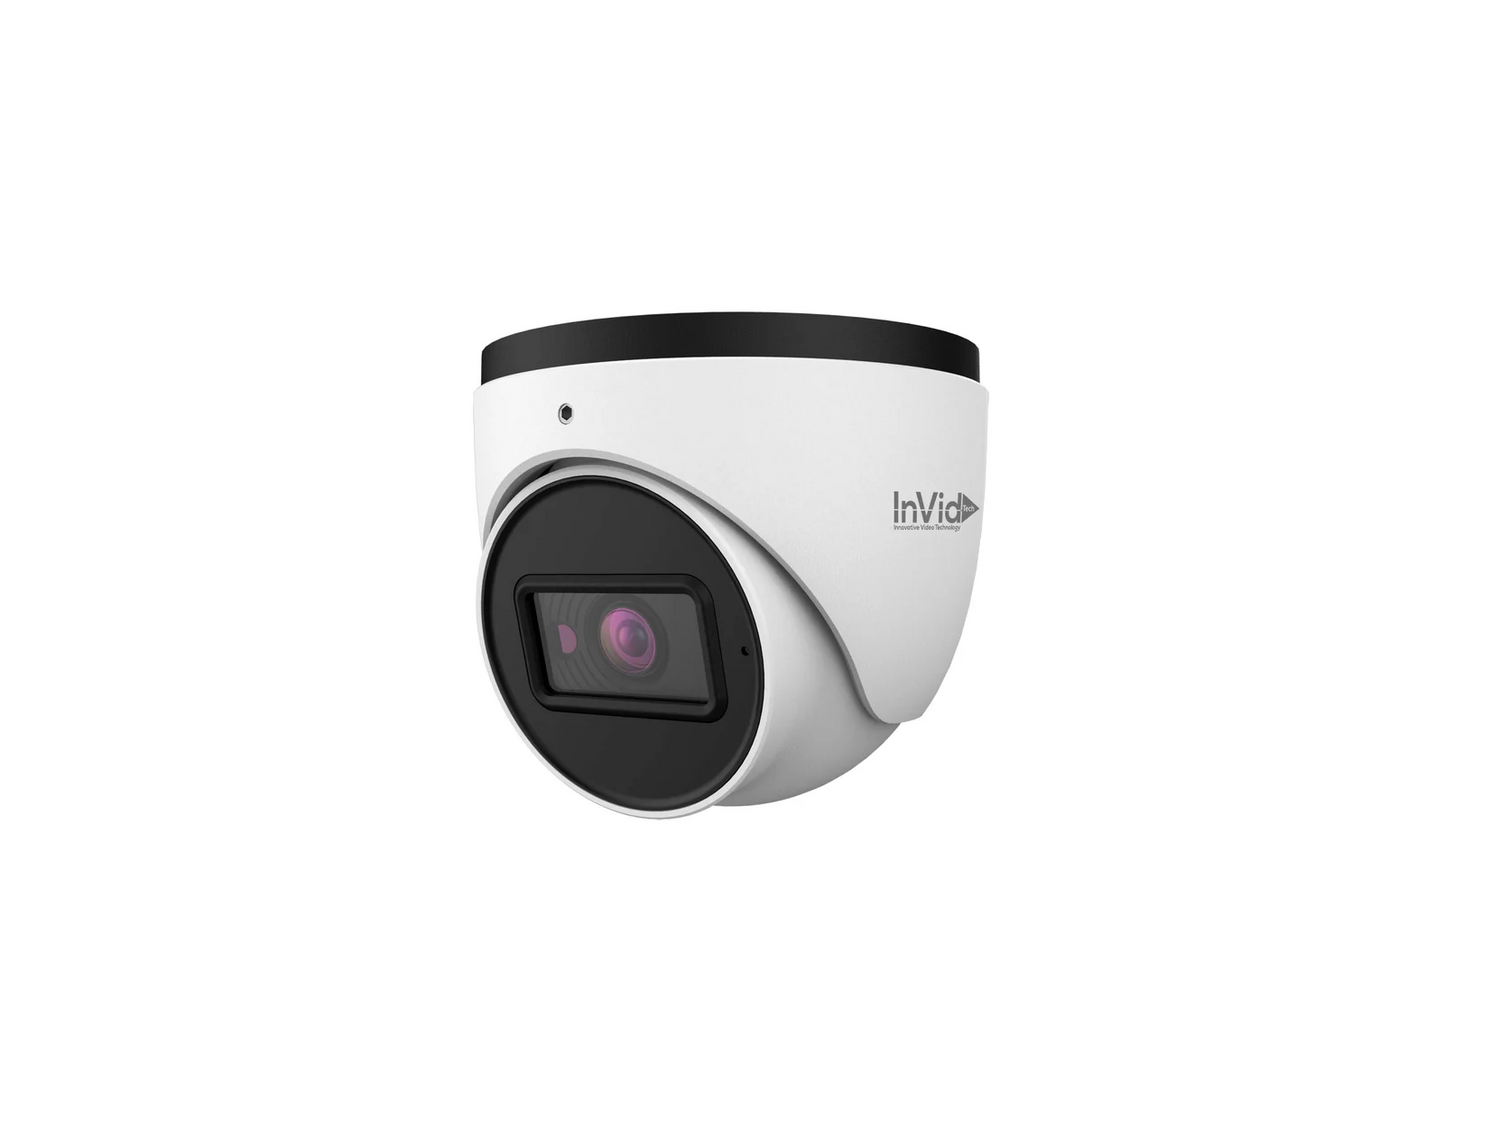
Credit: visiontechc.ca
Using Advanced Features
Using advanced features in the Invid Elevate app helps you control your camera better. These tools make your camera smarter and more responsive to your needs. They allow customization for security and convenience. Explore the settings to get the best from your camera.
Motion Detection Setup
Set up motion detection to monitor activity in real time. The camera sends alerts when it spots movement. Adjust the sensitivity to avoid false alarms. Define specific areas to watch for motion. This feature helps keep your space secure without constant watching.
Scheduling Camera Activity
Schedule your camera to turn on or off at set times. Choose days and hours that match your routine. This saves battery and storage space. The camera works only when you need it. Scheduling ensures you never miss important moments.
Integrating With Other Apps
Connect your camera with other apps for more functions. Link it to smart home systems or cloud storage. This helps you view footage on different devices. You can also automate actions like turning on lights. Integration adds ease and flexibility to your setup.
Troubleshooting Tips
Troubleshooting camera issues on the Invid Elevate app can be simple. This section helps you solve common problems quickly. Clear instructions guide you through fixing connection errors and other glitches. Follow these tips to keep your camera working smoothly.
Common Issues
Some cameras do not connect to the app. The video may freeze or lag during use. Sometimes, the app does not detect the camera at all. These problems happen due to weak internet or wrong settings. Checking these areas first can save time.
Resetting Camera Connections
Turn off the camera and app before reconnecting. Restart the app and power on the camera again. This refresh often fixes connection problems. If needed, remove the camera from the app and add it back. This resets the link and clears errors.
Contacting Support
Support teams help with issues that you cannot fix yourself. Use the app’s help section to find contact details. Describe your problem clearly and mention your device model. Support staff reply with steps to solve the issue fast.
Frequently Asked Questions
How Do I Add A New Camera In Invid Elevate App?
To add a new camera, open the app and tap the “+” icon. Enter the camera details and save. The camera will appear in your device list instantly.
Can I Organize Cameras Into Groups On Invid Elevate?
Yes, the app allows grouping cameras. Create custom groups to manage multiple cameras efficiently for quick access and better organization.
How To Rename A Camera In Invid Elevate App?
Select the camera, tap the settings icon, then choose “Rename. ” Enter the new name and confirm to update it immediately.
Is It Possible To Reorder Cameras In The App?
Yes, you can reorder cameras by dragging and dropping them in the desired sequence within the app’s camera list.
Conclusion
Organizing your camera on the Invid Elevate app is simple and quick. Clear steps help keep your files neat and easy to find. This saves time and reduces stress when you need footage. Use the app regularly to maintain order and stay efficient.
A tidy camera setup makes your work smoother every day. Try these tips and enjoy a better experience with Invid Elevate.
As an Amazon Associate, I earn from qualifying purchases.
