
Have you ever needed to scan a document quickly but didn’t have a scanner nearby? Your phone camera can be a powerful tool to get the job done in seconds.
Imagine turning any paper, receipt, or important note into a clear, digital copy without extra gadgets or hassle. In this guide, you’ll learn simple, step-by-step tricks to scan documents with your phone camera like a pro. By the end, you’ll wonder how you ever managed without it.
Ready to make your phone work smarter for you? Let’s dive in!
Choosing The Right App
Choosing the right app makes scanning documents easier and faster. Your phone’s camera can capture images, but a good app turns photos into clear, readable scans. The app you pick affects quality, features, and how simple scanning feels. Understanding your options helps you find the best tool for your needs.
Built-in Camera Vs Scanning Apps
Using your phone’s built-in camera is quick and simple. Just take a photo of the document. But it may not crop or enhance the image automatically. Scanning apps improve images by adjusting brightness and fixing angles. They also save documents as PDFs or text files. Apps often include extra tools like multiple pages scan and cloud backup.
Top Free Scanning Apps
Several free apps offer solid scanning features. Adobe Scan provides good image quality and text recognition. Microsoft Lens works well with Office apps and creates PDFs easily. CamScanner is popular for its user-friendly interface and editing tools. These apps support multiple file formats and let you organize scans efficiently.
Features To Look For
Look for apps with automatic edge detection. This helps crop the document perfectly. Optical Character Recognition (OCR) is useful for converting images into editable text. Cloud storage options keep your files safe and accessible from any device. Batch scanning allows you to scan many pages fast. Easy sharing options make sending documents simple.
Preparing Your Document
Preparing your document is the first step to get a clear scan with your phone camera. A well-prepared document saves time and ensures the best quality. Small details can make a big difference in how your scan looks.
Clean And Flat Surface
Place your document on a clean, flat surface. Dirt or wrinkles can blur the text. A smooth surface keeps the document steady while scanning. Avoid uneven places like couches or beds.
Good Lighting Conditions
Use bright, natural light if possible. Light helps the camera capture sharp and clear images. Avoid dim rooms or dark corners to prevent dull scans. A well-lit area makes text easy to read.
Avoiding Shadows And Glare
Shadows and glare distort the document’s appearance. Move the light source or adjust the document angle to reduce them. Keep your hand steady to avoid casting shadows. Glare can hide important details in your scan.
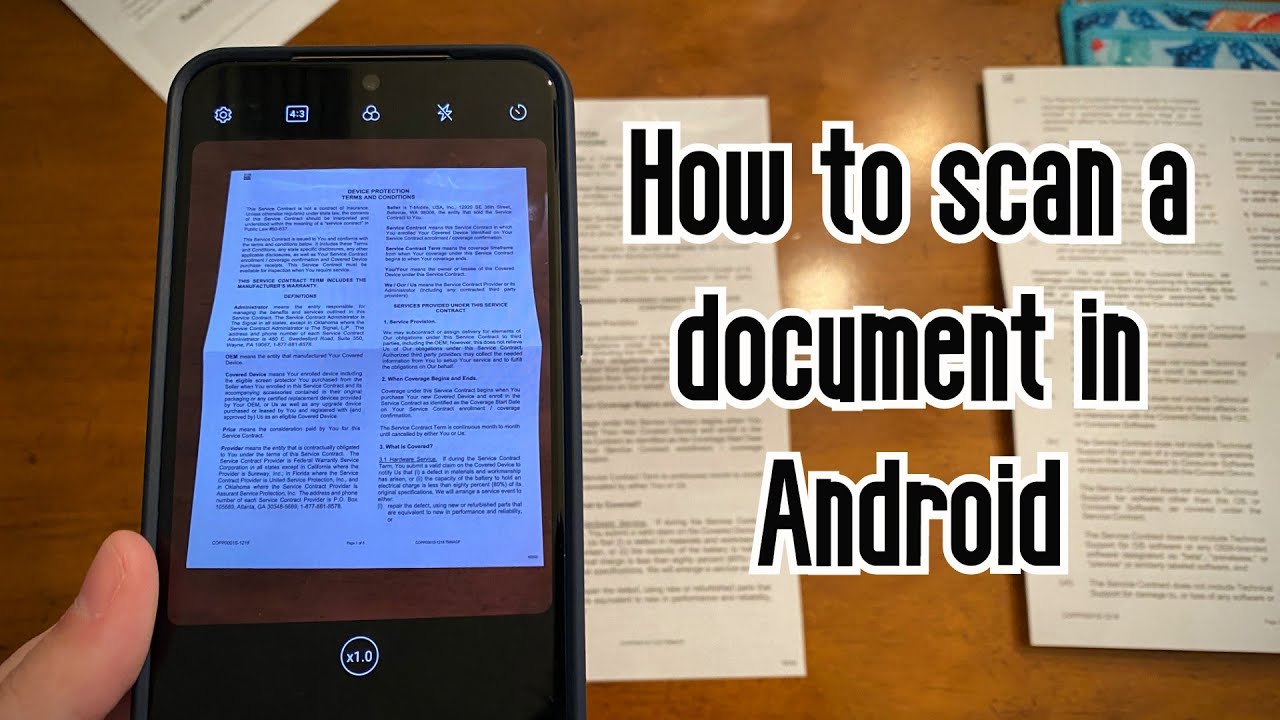
Capturing The Scan
Capturing a clear and sharp scan is the key to a good digital document. Using your phone camera correctly can make this easy and fast. Focus on how you hold your phone and adjust settings before taking the picture. This step ensures the scan looks professional and readable.
Positioning Your Phone
Hold your phone directly above the document. Keep it steady and parallel to the page. Avoid any angle that can cause distortion or blur. Use both hands if needed. Make sure the entire document fits inside the camera frame.
Using Gridlines And Focus
Turn on gridlines in your camera settings. These lines help align the document perfectly. Tap on the screen where the text appears to focus the camera. This sharpens the image and improves clarity. Good lighting also helps the camera focus better.
Taking Multiple Shots
Take several photos from different positions. This gives options to choose the best scan. Check each shot for shadows or blurs. Retake any photo that is unclear. More shots mean a better chance of a perfect scan.
:max_bytes(150000):strip_icc()/AndroidScanExample1-4e574dc55c6147098ccc3dea4647b4b4.jpg)
Credit: www.lifewire.com
Editing And Enhancing Scans
Editing and enhancing scans improves the quality of your digital documents. It makes them easier to read and look professional. Simple adjustments can change a blurry or dark scan into a clear, bright file. This section covers basic editing steps to perfect your scanned images.
Cropping And Aligning
Start by cropping the scanned image to remove unwanted edges. This focuses on the main content and removes distractions. Align the scan so the text or images are straight. A tilted scan can be hard to read. Most phone scanning apps have tools to crop and straighten scans quickly.
Adjusting Brightness And Contrast
Adjust brightness to make the scan lighter or darker. This helps make text more visible on bright or dark backgrounds. Contrast changes the difference between light and dark areas. Increasing contrast can make text stand out clearly. These simple tweaks improve readability and make your scan look clean.
Converting To Pdf Or Other Formats
Save your scanned document in a format that suits your needs. PDFs are common because they keep the layout intact. Some apps allow saving scans as JPG, PNG, or text files. Choose the format based on where you want to share or store the document. Converting scans helps organize and share files easily.
Saving And Sharing
Saving and sharing scanned documents is key for easy access and quick use. After scanning, you want to keep files safe and ready to send. Organizing your scans, using cloud storage, and sharing through apps or email help you manage documents well.
Organizing Scans On Your Device
Create folders to keep scans tidy. Name files clearly for fast searching later. Use dates or short descriptions in filenames. Delete old or duplicate scans to save space. This keeps your phone clutter-free and files easy to find.
Cloud Storage Options
Upload scans to cloud services like Google Drive or Dropbox. Cloud storage protects files from phone loss or damage. It also lets you access scans from any device. Set automatic backups to save time and avoid losing data.
Sharing Via Email And Apps
Send scans quickly by email or messaging apps. Choose the right file size for easy sending. PDF format works well for most uses. Share directly from your scanning app for convenience. This makes sharing smooth and fast.

Credit: www.youtube.com
Tips For Better Scan Quality
Getting clear, sharp scans with your phone camera is easy with the right tips. Small actions can improve the quality a lot. These simple steps help you capture every detail of your documents. Better scans mean less editing and easier sharing.
Using A Steady Hand Or Tripod
Hold your phone still while scanning. A steady hand prevents blurry images. Use both hands for more control. Placing your phone on a tripod gives the best stability. This keeps the camera from moving during the scan. A stable phone captures sharper text and images.
Avoiding Reflections
Reflections can ruin a good scan. Bright lights or windows cause glare on the document. Change the angle of your phone or document to stop reflections. Scan in soft, even light for best results. Avoid using flash, as it creates shiny spots on the paper.
Regularly Cleaning Your Camera Lens
Dirt or smudges on the lens blur your scans. Clean the lens gently with a soft cloth before scanning. Avoid using rough materials that can scratch the lens. A clean lens lets your camera capture all document details clearly. Regular cleaning keeps your scans crisp every time.
Credit: www.youtube.com
Frequently Asked Questions
How Do I Scan Documents With My Phone Camera?
Open your phone’s camera app and position the document clearly. Use a scanning app or phone’s built-in scanner for better results. Ensure good lighting and steady hands. Capture the image, then crop and adjust as needed before saving or sharing.
Which Apps Are Best For Scanning Documents On Phone?
Popular scanning apps include Adobe Scan, Microsoft Lens, and CamScanner. These apps enhance image quality, auto-crop, and convert scans to PDF. They offer easy sharing and storage options. Choose one based on your needs and device compatibility.
Can I Scan Multiple Pages Using My Phone?
Yes, most scanning apps allow multi-page scanning. Capture each page sequentially, then save all pages as a single PDF. This feature is useful for contracts, reports, or any multi-page documents. It keeps your scans organized and easy to access.
How To Improve Scan Quality With Phone Camera?
Ensure good natural or bright lighting without shadows. Keep the camera steady and parallel to the document. Use scanning apps for auto-enhancements and filters. Avoid zooming in digitally to maintain clarity. Clean your camera lens before scanning.
Conclusion
Scanning documents with your phone camera saves time and effort. You can do it anywhere, without extra tools. Just open your camera app or a scanning app. Position the document well and take a clear photo. Edit and save it as a PDF or image.
This method keeps your papers organized and easy to share. Practice a few times to improve your skills. Soon, scanning documents will feel natural and quick. Keep your phone ready for all your scanning needs. Simple steps lead to big convenience.
As an Amazon Associate, I earn from qualifying purchases.
