
Do you need to capture something important on your Acer laptop screen but aren’t sure how? Taking a screenshot can save you time and help you share exactly what you see with others.
Whether it’s for work, school, or just keeping a memory, knowing the right steps makes all the difference. In this guide, you’ll learn simple and quick ways to take a screenshot on your Acer laptop—no tech skills required. Keep reading to master this handy trick and never miss a moment on your screen again.
Screenshot Methods
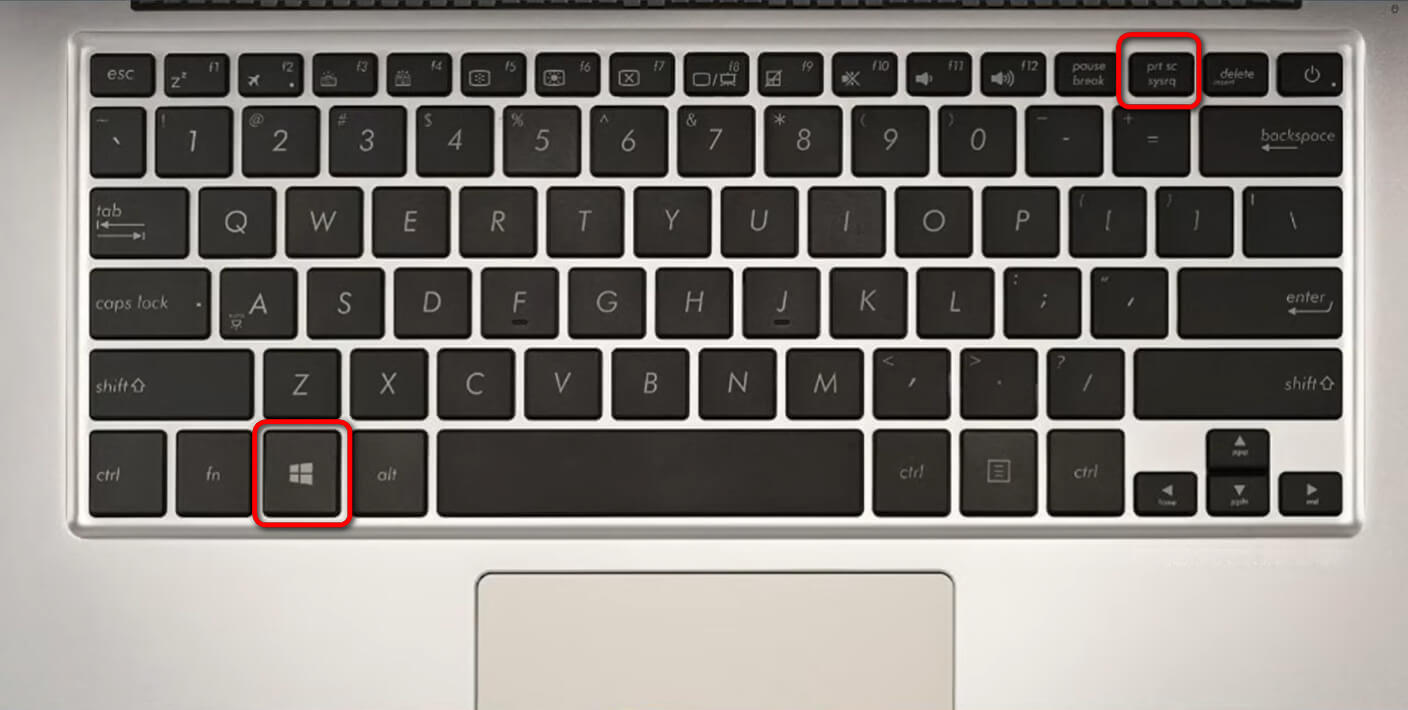
The Print Screen key copies the whole screen to the clipboard. Press PrtSc and open Paint or Word to paste it with Ctrl + V. Save the file to keep the screenshot.
The Snipping Tool helps capture part or all of the screen. Open it from the Start menu, click New, select the area, and save the image. It allows for simple editing too.
Snip & Sketch is a modern tool in Windows. Press Windows + Shift + S to start snipping. Drag to select the area, then edit or save the screenshot from the notification.
Credit: www.pdfgear.com
Keyboard Shortcuts
To take a full screen screenshot on an Acer laptop, press the PrtSc (Print Screen) key. This copies the entire screen to the clipboard. Then, paste it into an image editor or document using Ctrl + V.
For capturing only the active window, hold Alt and press PrtSc. This copies just the window you are using. Paste it the same way with Ctrl + V.
To capture a custom area, press Windows key + Shift + S. The screen will dim, and you can drag to select the area. The selected part is copied automatically. Paste it where needed.
Saving And Editing Screenshots
Saved screenshots usually go to the “Pictures” folder. Inside, find the “Screenshots” subfolder. Open it to see all captured images.
Basic editing includes cropping, resizing, or adding text. Use the built-in Photos app to do this. Just open the screenshot and select “Edit”. Simple tools like crop and rotate are easy to use.
Third-party tools offer more features. Apps like Snagit or Lightshot help with better editing. They allow you to add arrows, shapes, and highlights. Some let you share screenshots quickly too.

Credit: www.wikihow.com
Troubleshooting Screenshot Issues
Print Screen not working can happen if the key is disabled or stuck. Try pressing Fn + PrtSc keys together. Check keyboard settings to enable the Print Screen key. Restarting your laptop might fix temporary glitches.
Snipping Tool problems occur if the app is outdated or corrupted. Update Windows to get the latest version. You can also reset the app from Settings > Apps > Snipping Tool. Close other apps that may block screen capture.
Keyboard shortcut conflicts may stop screenshots from working. Some programs use the same keys as screenshot shortcuts. Check if other apps are using PrtSc or Windows + Shift + S. Changing or disabling conflicting shortcuts helps.
:max_bytes(150000):strip_icc()/A1-ScreenshotonanAcerLaptop-annotated-94fac10127934711888db26ef9a7c4b7.jpg)
Credit: www.lifewire.com
Frequently Asked Questions
How Do I Take A Screenshot On An Acer Laptop?
Press the “PrtSc” (Print Screen) key to capture the full screen. Paste it into Paint or any editor using Ctrl + V, then save your image.
Can I Capture Only Part Of The Screen On Acer?
Yes, press Windows + Shift + S to open the Snip & Sketch tool. Select the area you want to capture, and it will copy automatically.
Where Are Screenshots Saved On Acer Laptops?
Screenshots taken with Windows + PrtSc are saved in the Pictures > Screenshots folder automatically for easy access.
How To Screenshot On Acer Without Using Keyboard Shortcuts?
Use the Snipping Tool app found in the Start menu. It lets you capture free-form, rectangular, window, or full-screen screenshots.
Conclusion
Taking screenshots on an Acer laptop is simple and quick. Use the Print Screen key or Windows shortcuts to capture your screen. You can save images directly or edit them using built-in tools. Practicing these methods helps you get comfortable fast.
Screenshots make sharing information easier and clearer. Now, you can save important moments or details anytime. Try these steps and see how easy it is. No need for extra software or complex steps. Enjoy capturing your screen with confidence.
As an Amazon Associate, I earn from qualifying purchases.

