
Are you looking for a simple way to share documents, images, or objects with your audience clearly and effortlessly? A document camera might be exactly what you need.
Whether you’re teaching a class, giving a presentation, or working remotely, knowing how to use a document camera can change the way you communicate. You’ll discover easy steps to set up and operate your document camera like a pro. Keep reading, and you’ll soon be capturing and sharing every detail with confidence and ease.
Choosing The Right Document Camera
Choosing the right document camera is important for clear and effective presentations. A good camera saves time and makes sharing documents easy. Knowing what type fits your needs helps you pick the best model. Key features and budget also guide your choice. This section breaks down the main points to help you decide.
Types Of Document Cameras
Document cameras come in different types. Some have flexible arms for easy positioning. Others are flat and foldable for travel. Desktop models are larger but offer better stability. Portable cameras are light and work well on the go. Choose a type that fits your workspace and use.
Key Features To Consider
Look for clear image quality. A high resolution shows fine details well. Zoom options help focus on small text or objects. Autofocus keeps the image sharp without manual adjustment. Lighting built-in helps in dark rooms. USB or wireless connection adds ease of use.
Budget And Brand Options
Document cameras vary in price from basic to advanced. Set a budget before shopping. Trusted brands often provide better support and quality. Read reviews to check user satisfaction. Sometimes spending a bit more pays off with durability and features.
Credit: teachthinkblog.wordpress.com
Setting Up Your Document Camera
Setting up your document camera correctly is important for clear and smooth presentations. This step helps you show documents, objects, or notes clearly to your audience. Proper setup prevents distractions and makes your work look professional.
Follow simple steps to connect, position, and adjust your camera. These steps ensure the best image quality and ease of use.
Connecting To Your Device
Start by plugging the camera into your computer or projector. Use the USB or HDMI cable provided with your camera. Make sure the connection is secure. Turn on your device and wait for it to recognize the camera. Install any needed software or drivers. This helps your device work well with the camera.
Positioning For Optimal Viewing
Place the document camera on a flat, stable surface. Adjust the arm or neck so the camera lens points directly down at your document. Keep the document centered under the lens. Avoid placing the camera too high or too low. Correct positioning ensures the whole document fits in the frame. Your viewers will see everything clearly without distortion.
Adjusting Lighting And Focus
Good lighting improves image quality. Use natural light or desk lamps to brighten the document. Avoid harsh shadows and glare on the paper. Most document cameras have built-in lights. Turn them on to enhance visibility. Adjust the focus ring or button until the image is sharp. Check the preview on your screen for clarity. Clear focus helps your audience read or see details easily.
Operating The Document Camera
Operating a document camera is simple and helps you share content clearly. Understanding its controls makes your presentations smooth. This section explains how to use the main features.
Basic Controls And Functions
Turn on the document camera using the power button. Adjust the arm or camera head to focus on your material. Use the brightness control to improve image clarity. Switch between different input modes if your device supports them. Use the focus button to get a sharp picture automatically or manually.
Using Zoom And Pan Features
Zoom in to show small details clearly. Use the zoom buttons or a dial for smooth control. Pan around the image by moving the camera head or using arrow keys. This helps highlight specific parts of your document. Zoom and pan work together to make your presentation more dynamic and clear.
Capturing And Saving Images
Capture images of important slides or notes using the capture button. Save these images to the device’s memory or a connected USB drive. Some document cameras allow saving directly to a computer. Check your model’s settings for saving options. These saved images can be used later for review or sharing.
Enhancing Presentation Quality
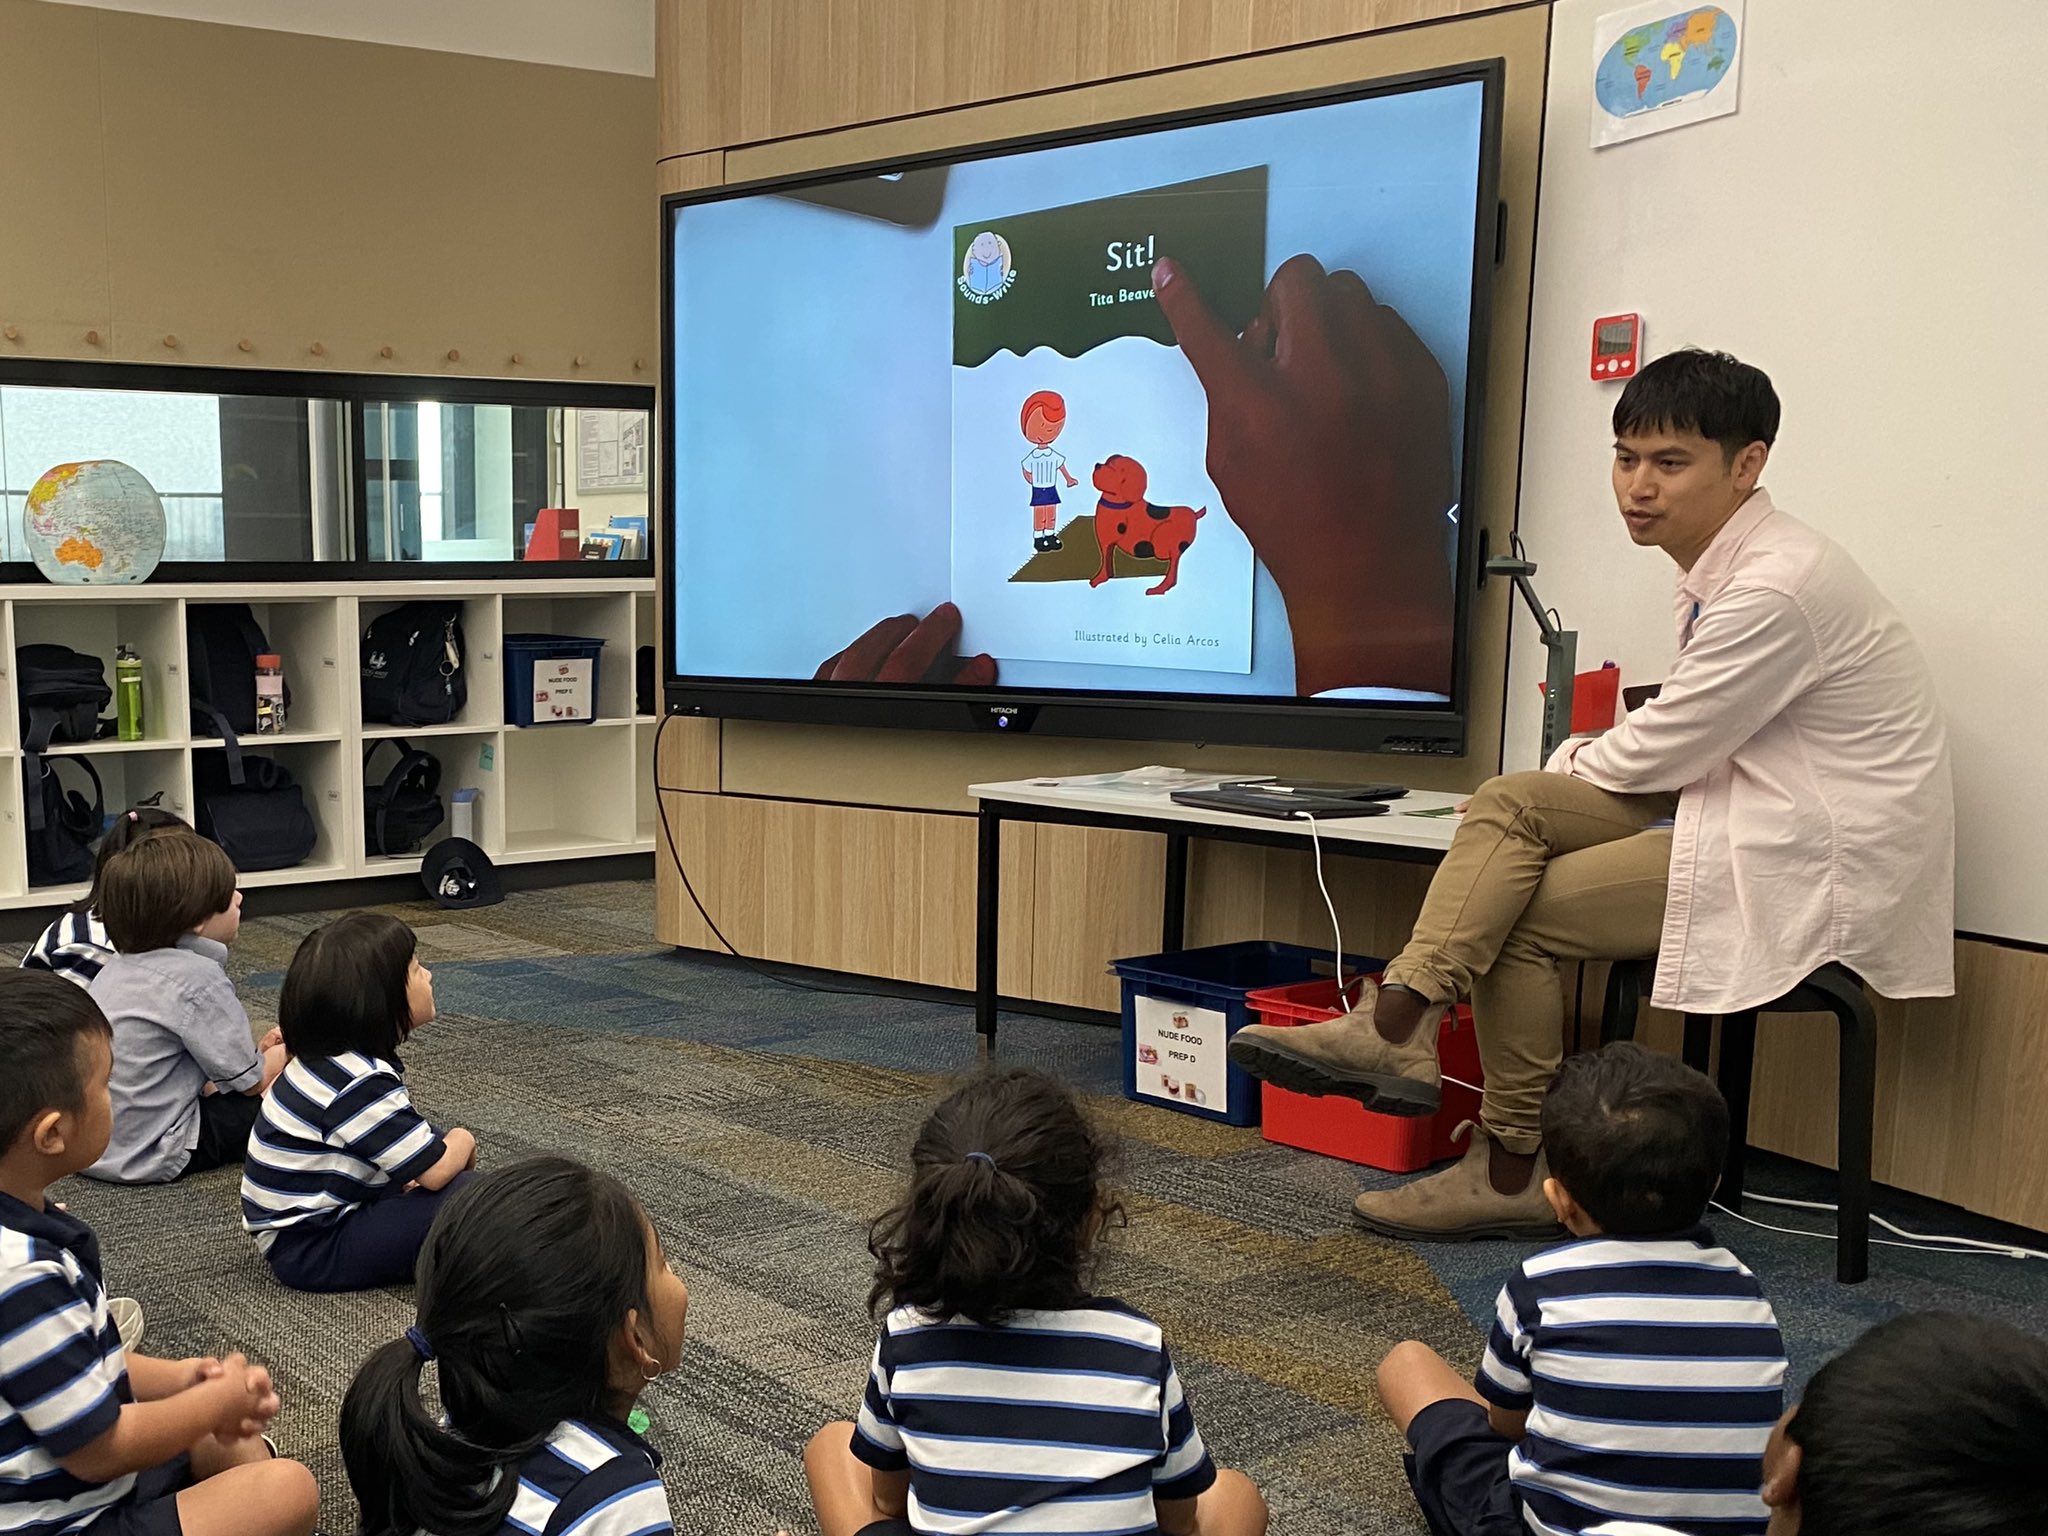
Using a document camera can greatly improve your presentation quality. It helps show details clearly and keeps your audience focused. This tool allows you to share documents, objects, and notes live. Proper use makes your presentation more interactive and easier to understand.
Integrating With Presentation Software
Connect your document camera to software like PowerPoint or Google Slides. This lets you switch between slides and live views smoothly. Use the camera to show real-time examples alongside your slides. This mix keeps the audience interested and engaged.
Using Annotations And Markups
Many document cameras support drawing or writing directly on the screen. Mark important points or highlight details during your presentation. Annotations help clarify complex ideas quickly. This feature keeps your audience focused on key information.
Tips For Clear And Engaging Displays
Ensure good lighting on the object or document you show. Avoid shadows that can make details hard to see. Keep the camera steady and adjust focus for sharp images. Use zoom to highlight small parts clearly. Speak clearly and explain what the audience sees.
Troubleshooting Common Issues
Troubleshooting common issues with a document camera helps keep it working well. Small problems can stop your presentations or lessons. Fixing these issues quickly saves time and stress. Below are simple tips to solve frequent problems.
Fixing Image Clarity Problems
Blurred or dark images make it hard to see details. Check the camera lens for dirt or smudges. Clean the lens gently with a soft cloth. Adjust the focus ring to sharpen the image. Make sure there is enough light on your document. Bright light improves image clarity. Avoid glare by changing the angle of the camera.
Resolving Connectivity Errors
Connection issues stop the camera from showing images. Check all cables are plugged in tightly. Use USB or HDMI cables that are not damaged. Restart your computer and the document camera. Update the camera’s drivers from the manufacturer’s website. Try a different USB port if the problem continues. Ensure the software you use supports the camera model.
Maintaining Your Document Camera
Regular care keeps your camera working longer. Cover the lens when not in use to avoid dust. Store the camera in a safe, dry place. Clean the lens and body every few weeks. Avoid dropping or bumping the camera. Check cables for wear and replace if needed. Run software updates to keep the camera compatible with your computer.

Credit: www.techlearning.com
Advanced Tips And Tricks
Advanced tips and tricks can enhance your use of a document camera. These techniques help you use the device more effectively. They allow for better presentations and recordings. Understanding these tips will improve your workflow and audience engagement.
Using Multiple Cameras
Connecting more than one camera can show different views. You can switch between cameras during a presentation. This is helpful for showing close-ups and wider shots. Many software programs support multiple camera inputs. Make sure your computer has enough USB ports or use a hub.
Recording Presentations
Many document cameras have built-in recording features. Recording saves your presentations for later use. Use good lighting to improve video quality. Speak clearly and check audio settings before starting. Save files in common formats like MP4 for easy sharing.
Customizing Settings For Different Environments
Adjust brightness and contrast based on room lighting. Use the zoom feature to focus on small details. Change the resolution for better image quality or faster streaming. Some cameras allow color settings to be modified. Test settings before starting to ensure clear visuals.

Credit: faq.owens.edu
Frequently Asked Questions
What Is A Document Camera Used For?
A document camera displays physical documents or objects digitally. It helps in presentations, teaching, and video conferencing by showing clear, real-time images to an audience.
How Do I Connect A Document Camera To My Computer?
Most document cameras connect via USB or HDMI. Simply plug the cable into your computer, install any necessary drivers, and open the camera software to start using it.
Can I Use A Document Camera For Online Teaching?
Yes, document cameras are great for online teaching. They allow you to share handwritten notes, textbooks, or demonstrations live with students, enhancing engagement and clarity.
What Are The Best Lighting Tips For Document Cameras?
Use bright, even lighting to avoid shadows or glare. Natural light or adjustable LED lamps work well to ensure clear, sharp images during presentations.
Conclusion
Using a document camera makes sharing clear and simple. It helps show details on papers, books, or objects. Teachers and presenters save time and keep attention. Set it up quickly, and adjust the focus easily. Practice a bit to feel confident and smooth.
This tool fits many settings, from classrooms to meetings. Try it out, and see how it improves your presentations. Small steps bring big improvements in how you share information.
As an Amazon Associate, I earn from qualifying purchases.
