Have you ever wanted to create your own gaming controller that fits perfectly in your hands and works exactly the way you want? Making a gaming controller might sound tricky, but with the right steps, you can build one yourself.
Imagine playing your favorite games with a controller designed just for you. In this guide, you’ll learn simple, clear instructions to bring your custom controller to life. Ready to take control of your gaming experience? Let’s dive in and make it happen!
Choosing The Right Components
Choosing the right components is the first step to make a good gaming controller. Each part affects how the controller feels and works. Picking parts carefully helps build a controller that is comfortable and responsive.
Focus on buttons, joysticks, circuit boards, and casing. Each needs to fit well and work smoothly. Quality parts make the whole controller better and last longer.
Selecting Buttons And Joysticks
Buttons must be easy to press and quick to respond. Choose buttons with good tactile feedback. This means you feel a click when pressed.
Joysticks should move smoothly and return to center. Look for joysticks with good build quality. They should not stick or feel loose.
Consider the size and shape. Pick buttons and joysticks that fit your hand well. Comfort improves gaming performance.
Picking The Circuit Board
The circuit board is the brain of the controller. It connects buttons and joysticks to the console or PC.
Choose a board compatible with your gaming system. Check for easy solder points and good wiring space.
Look for boards with reliable chips. This ensures fast and accurate response during games.
Choosing The Casing Material
The casing holds all parts together. It should be strong but light.
Plastic is common and easy to shape. Pick high-quality plastic to avoid cracks.
Rubber or silicone covers add grip and comfort. Choose materials that feel good in your hands.
Make sure the casing fits all parts snugly. A tight fit prevents damage and keeps parts in place.

Credit: www.youtube.com
Gathering Tools And Materials
Building a gaming controller starts with gathering the right tools and materials. Having everything ready makes the process smoother and faster. This section lists the essential and optional tools you need. It helps you prepare before starting your project.
Essential Tools For Assembly
You need some basic tools to assemble the controller. A small screwdriver set is important. It helps to tighten screws and open small parts. A soldering iron is required to connect wires securely. Wire cutters and strippers make it easy to prepare wires. A multimeter checks if the circuits work properly. Tweezers help to place small components precisely. Finally, a hot glue gun can secure parts in place.
Optional Tools For Customization
Optional tools help you customize and improve your controller. A 3D printer can create custom buttons or casing parts. Sandpaper smooths rough edges for a better finish. Paints and brushes add personal colors and designs. A Dremel tool helps to carve or modify plastic parts. Heat shrink tubing protects soldered wire connections. A small clamp holds parts steady while working. These tools are not necessary but add a personal touch.
Designing The Controller Layout
Designing the controller layout is a key step in making a gaming controller. It affects how easy and fun the controller will be to use. A good layout places buttons where fingers naturally rest. This reduces hand strain during long gaming sessions. Planning the layout carefully improves player comfort and game control.
Start by thinking about which buttons you need. Arrange them so players can reach important buttons fast. The layout should balance between too crowded and too empty. Space out buttons enough to avoid accidental presses. Keep the design simple and clear for all users.
Mapping Button Placement
Map the buttons based on their function and usage frequency. Place often-used buttons near the thumbs. Less used buttons can go to less accessible spots. Group similar buttons together for faster response. For example, action buttons on the right, direction pad on the left.
Test the layout by imagining typical game actions. Check if the fingers can reach buttons without stretching. Make adjustments until the button placement feels natural. This step helps create a smooth gaming experience.
Ergonomic Considerations
Ergonomics means making the controller fit the hand comfortably. Use curved shapes that match hand contours. Avoid sharp edges or hard angles that cause discomfort. Design the controller size to fit most hand sizes.
Add grips or textured surfaces to prevent slipping. Ensure buttons have a good travel distance for easy pressing. Keep weight balanced to reduce hand fatigue. Ergonomic design keeps players comfortable during long play.
Wiring The Electronics
Wiring the electronics is a key step in making a gaming controller. This stage connects all the buttons and parts to the circuit board. Proper wiring ensures your controller works smoothly. It also helps avoid errors and short circuits.
Taking time to wire carefully makes the final product strong and reliable. Each wire must go to the correct spot on the board. Use clear labels and follow the circuit diagram closely. Neat wiring helps when testing and fixing later.
Soldering Tips And Tricks
Soldering joins wires and parts to the circuit board firmly. Use a clean, sharp soldering iron for best results. Heat each joint just enough to melt the solder. Too much heat can damage the board or parts.
Hold the wire and pad steady while soldering. Use thin solder wire for easy control. Work in a well-lit area to see tiny parts clearly. Let solder joints cool naturally without moving them.
Check each joint for a shiny, smooth finish. Dull or cracked joints may cause poor connections. Use a solder wick or pump to remove excess solder.
Connecting Buttons To The Circuit Board
Buttons are the main input on your controller. Each button needs two wires: one for signal and one for ground. Attach wires to the button terminals securely.
Follow the wiring diagram to match buttons with board pins. Use small heat shrink tubes or electrical tape to cover exposed wires. This prevents shorts and protects connections.
Test each button by pressing it and checking the circuit response. Fix any loose wires or bad contacts before final assembly. Proper button wiring makes gameplay smooth and responsive.
Programming The Controller
Programming the controller is a key step in making your gaming device work properly. This process lets you control how the buttons and joysticks behave. You can set up the controller to match your gaming style. It also helps the controller communicate with your computer or console. Understanding how to program your controller makes it more useful and fun to play with.
Installing Firmware
Firmware is the software inside the controller. It controls how the hardware works. To start, download the correct firmware for your controller model. Use a USB cable to connect the controller to your computer. Open the firmware update tool and follow the instructions. The tool will upload the firmware to the controller. This step is important for smooth operation and bug fixes.
Customizing Button Functions
Customizing buttons lets you assign different actions to each button. This makes playing easier and faster. Use the controller software to select a button. Choose the new function from a list or create your own. Save the settings to the controller. You can change these at any time. This way, your controller fits your game and style perfectly.

Credit: www.youtube.com
Assembling The Controller Case
Assembling the controller case is a crucial step in making your own gaming controller. This part holds all the parts together and protects the inside electronics. It needs care and precision. A well-assembled case ensures the controller feels solid and comfortable in hand.
Each piece must fit perfectly. The buttons, joysticks, and circuit board all sit inside this shell. The case must keep everything in place without gaps or loose parts. This process requires patience and attention to detail.
Fitting Components Securely
Start by placing the circuit board inside the bottom half of the case. Align the buttons with their slots carefully. Press the joysticks gently into their holders. Make sure no wires are pinched or out of place. Use screws or clips provided to hold the board tightly. Check that buttons move freely and click correctly. Secure fit prevents damage during use.
Sealing And Finishing Touches
After fitting all parts, join the top half of the case. Snap or screw it firmly onto the bottom half. Check all edges for tight closure to avoid dust or moisture inside. Smooth any rough edges with fine sandpaper if needed. Clean the surface with a soft cloth to remove fingerprints. Test the controller once fully assembled for comfort and function. A neat finish makes the controller look professional and last longer.
Testing And Troubleshooting
Testing and troubleshooting are important steps after making a gaming controller. They help ensure the controller works well and feels right. This process checks every button and connection. It also solves any problems that may appear.
Testing the controller carefully saves time later. It makes sure the device responds fast and correctly. Troubleshooting helps fix errors before they cause bigger issues.
Checking Button Responses
Start by pressing each button on the controller. Watch how the device reacts on your screen. Each button should send a clear signal. If a button does not respond, check its wiring first. Make sure the wires connect firmly to the board. Test all buttons in the same way. Confirm the joystick moves and clicks properly. This step ensures every part works as expected.
Fixing Common Issues
Loose wires cause many problems. Reconnect any wires that feel weak or loose. Dirt or dust can block buttons too. Clean buttons gently with a soft cloth. Sometimes, a button sticks due to tight parts. Adjust or replace the button if needed. Software settings may need a reset. Try restarting your device or controller. These fixes often solve most controller problems quickly.
Personalizing Your Controller
Personalizing your gaming controller makes it truly yours. It shows your style and improves your gaming feel. Small changes can make a big difference in comfort and look. You can change colors, add decals, or upgrade buttons. This section helps you add your touch to your controller.
Adding Custom Paint And Decals
Start by cleaning your controller well. Use spray paint made for plastic parts. Choose colors that match your favorite games or style. Apply thin coats to avoid drips. Let each coat dry before adding the next.
Decals add cool designs without much work. Buy vinyl stickers or print your own. Place them carefully on smooth surfaces. Seal the paint and decals with clear coat spray. This keeps the design safe and shiny.
Upgrading With Extra Features
Extra buttons can improve your gaming speed. You can add paddles or triggers at the back. These help with quick moves without lifting thumbs.
Better grips prevent slipping during long play. Look for rubber or silicone covers. These fit over the handles and feel soft.
Consider changing the thumbsticks. Taller or textured sticks improve control. Swap them easily with small tools.
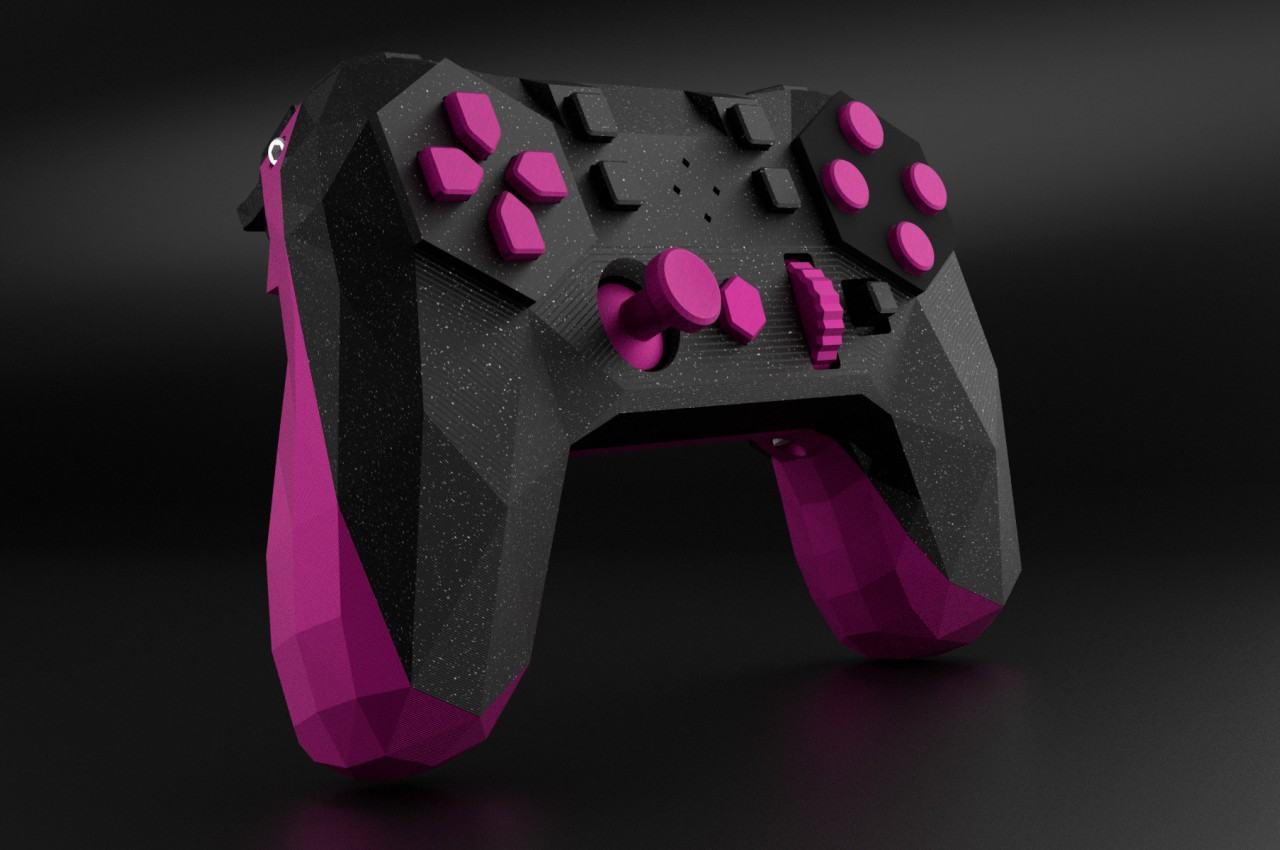
Credit: www.yankodesign.com
Frequently Asked Questions
What Materials Do I Need To Make A Gaming Controller?
You need a microcontroller, buttons, joysticks, wires, a casing, and soldering tools. These are essential for building a basic gaming controller.
How Long Does It Take To Build A Custom Controller?
Building a custom gaming controller typically takes 3 to 5 hours. Time varies based on experience and complexity of design.
Can I Program My Own Controller Firmware?
Yes, you can program your controller firmware using Arduino or other microcontroller platforms. This allows custom button mapping and features.
Is Soldering Necessary For Making A Gaming Controller?
Soldering is usually necessary to connect components securely. However, some kits use snap-on parts for easier assembly.
Conclusion
Making your own gaming controller takes time and patience. Step by step, you build something unique and useful. Testing each part helps avoid problems later. You learn how buttons and circuits work together. This project can boost your confidence in tech skills.
Enjoy the process as much as the result. Keep practicing to improve your creations. Soon, you might design even better controllers. Give it a try and have fun building!
As an Amazon Associate, I earn from qualifying purchases.